TASK: Exercise 3.5 Garbage Mattes and Basic Compositing
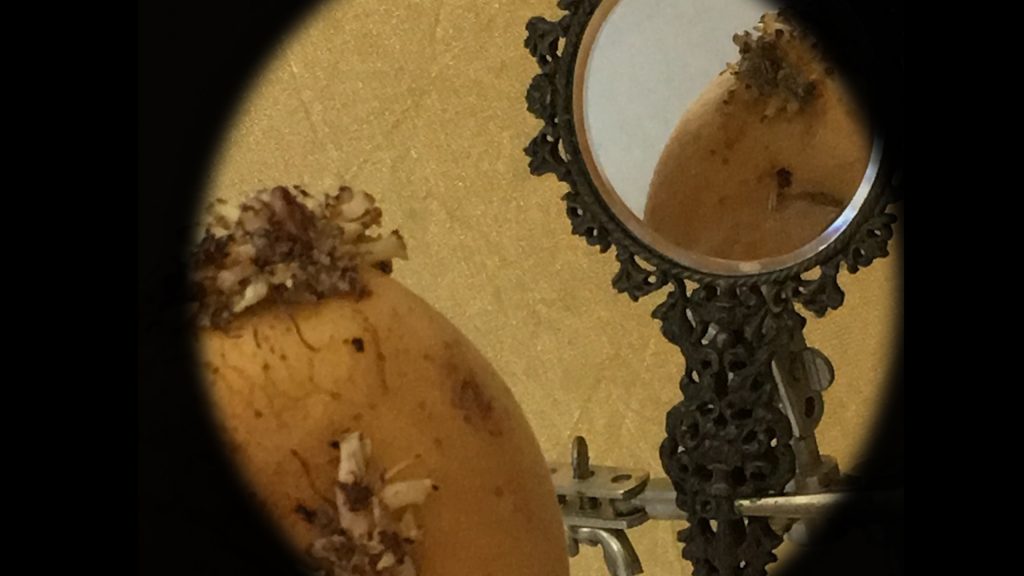
Returning to one of the first exercises of this unit, the rotating chair, bring this into your editing software to use as the basis of a compositing exercise.
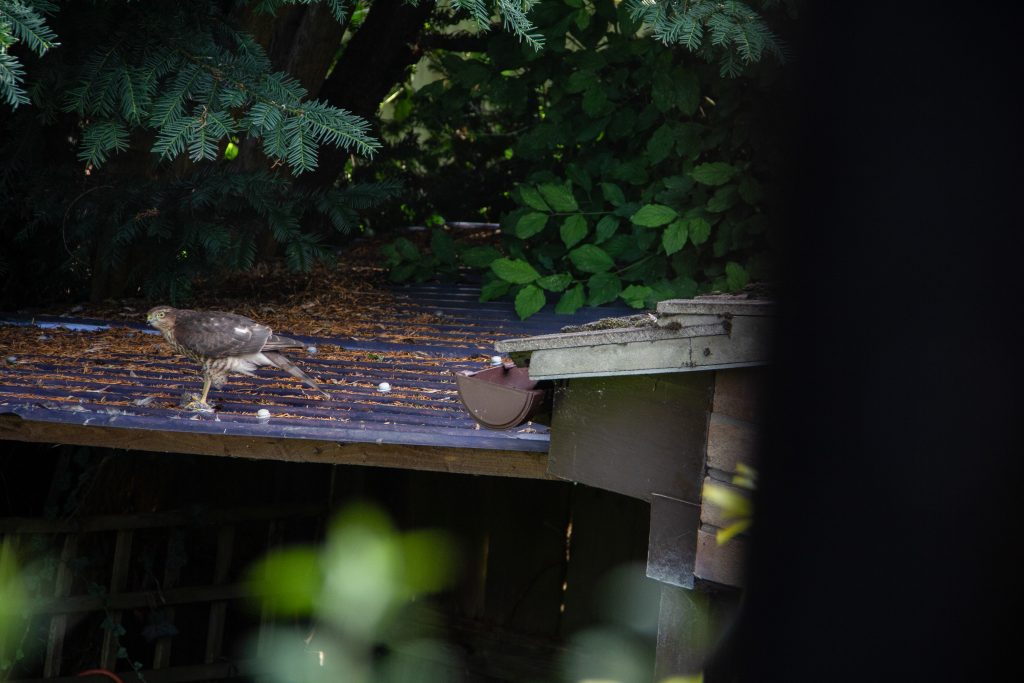
Find a still image from the internet of an animal or object, or photograph your own.
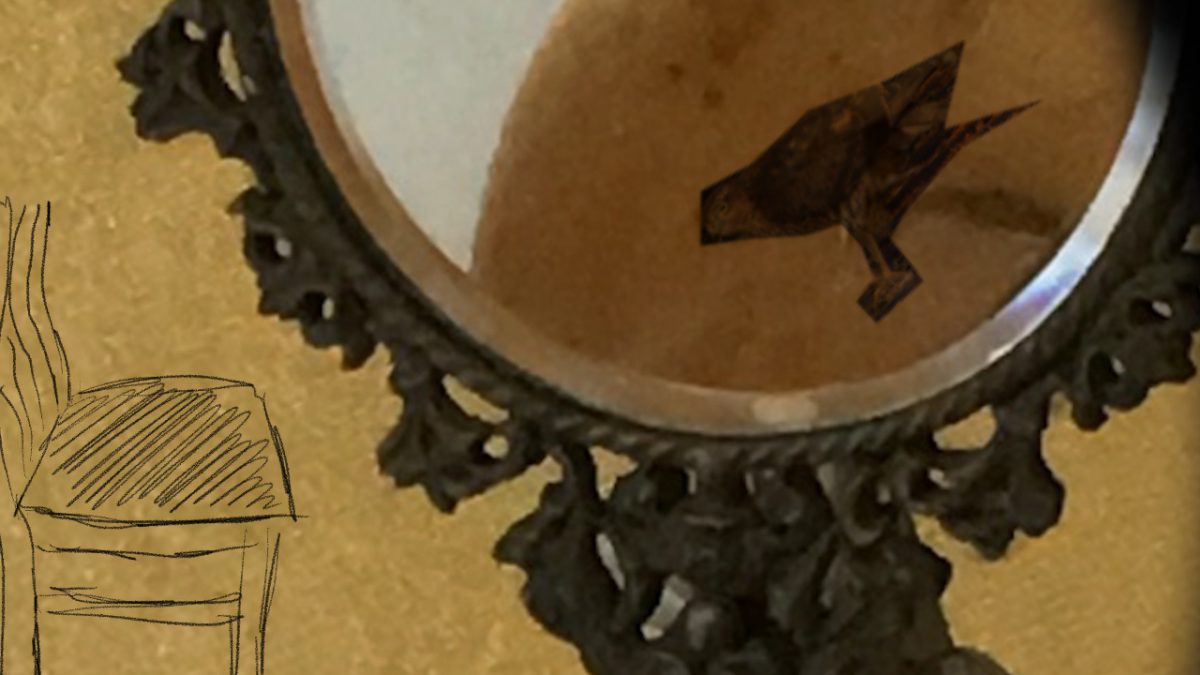
Bring this in to your editing software as a new layer and use the matte function to overlay this image onto your rotating chair.
You can work as simply or as intricately as you like. The result need not be slick or believable. The purpose of the exercise is for you to explore the basics of using matte’s and to gain an understanding of compositing. If you like you can bring in a moving image to apply the matte to, but a still image will suffice.
Bear in mind the matte feature may be called ‘mask’ in your editing software (in iMovie it is often referred to as ‘green screen’ or ‘blue screen’). Almost all editing software will have some level of basic matte or masking that allows you to work with at least two visual layers.
Once you are comfortable using a matte/mask, you can extend this exercise further by exploring other ways of compositing. For example, try bringing in a line drawing and use a ‘multiply’ function to overlay this drawing onto your chair animation. Upload any extra experiments onto your learning log.


Project 3.7 Ken Burns and keyframing
American documentary film-maker Ken Burns is synonymous with an approach to documentaries using still images with a narrated voice-over where images are slow panned and zoomed using an ease-in and ease-out. That is to say, the movement starts smoothly and slowly comes to rest. Apple in fact named their ‘ease in ease out’ tool after the film-maker “The Ken Burns Effect”. You set the first ‘key frame’ (where you want the movement/zoom to start) and the final ‘key frame’ (where you want the movement/zoom to end). The software then interpolates the in-between frames.
Adobe After Effects and Adobe Premiere allow very fine control over this movement with graph editors. But I really needed to use different images than indicated by the task to really explore this technique – see Assignment 3.
TASK: Exercise 3.7 Keyframing and Ken Burns Effect
Do some research about what keyframing ability your editing software has available (including the ‘ken burns effect’ if you have it).
● Explore this technique adding key framed movement to a single still image.
Once you have mastered this, return to the editing project of exercise 5 (garbage mattes and basic compositing).
● Can you apply a key-framed move to one of the layers (either the chair or the object that you introduced as a new layer)?
Explore Bezier curves and direct movement if your software offers this.
Upload a short experiment demonstrating that you have come to grips with basic digital keyframed movement to your learning log along with any notes on how easy or difficult you found this process and what resources you used to help you.
