Project Tag: chair

  • E3.5/3.7: Sparrowhawk Landing: Garbage Mattes, Basic Compositing and Keyframing

    E3.5/3.7: Sparrowhawk Landing: Garbage Mattes, Basic Compositing and Keyframing

    Exercise 3.5 Garbage Matte and Basic Compositing
    Exercise 3.7 Ken Burns Effect

    TASK: Exercise 3.5 Garbage Mattes and Basic Compositing

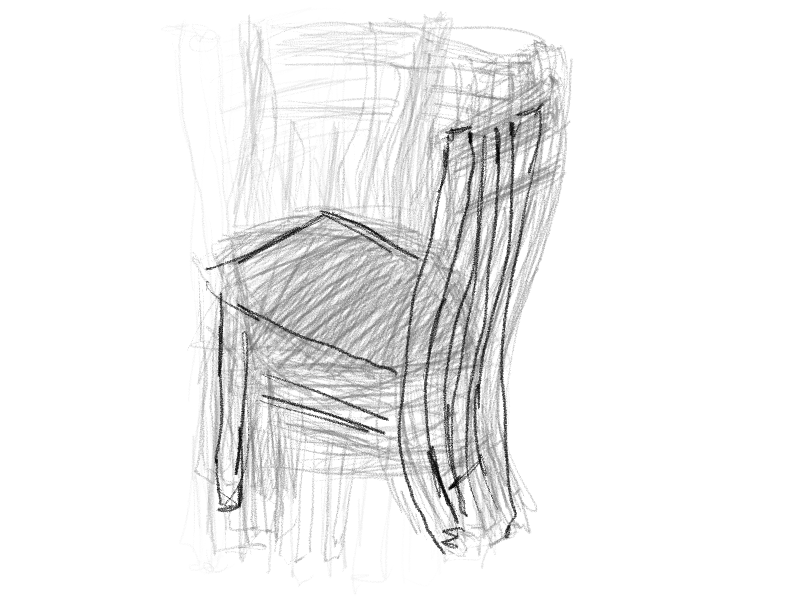
    Returning to one of the first exercises of this unit, the rotating chair, bring this into your editing software to use as the basis of a compositing exercise.

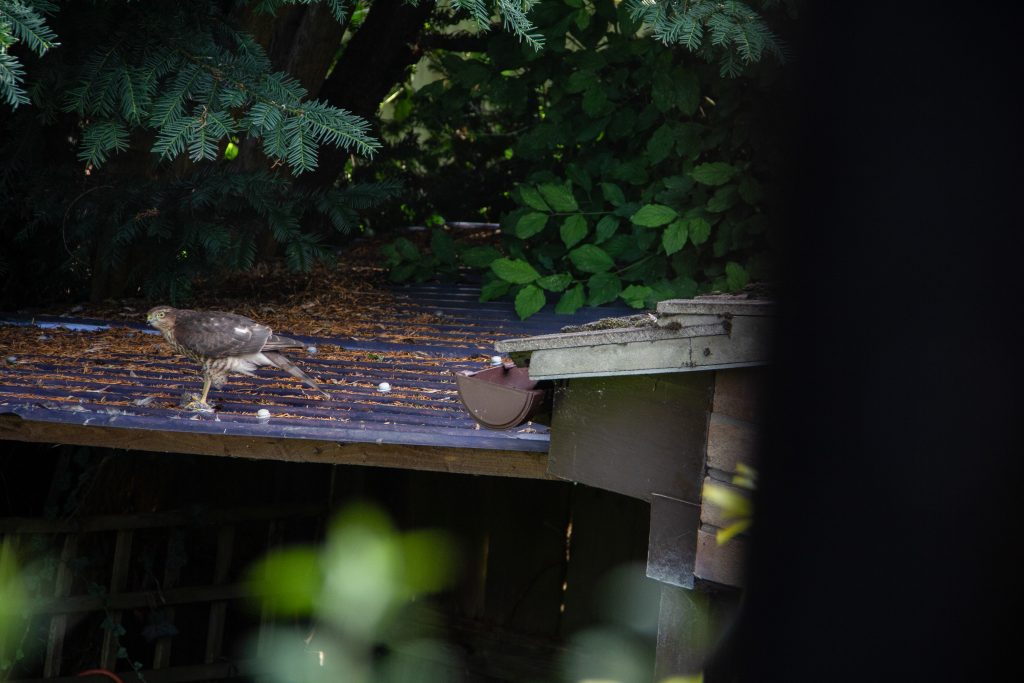
    Find a still image from the internet of an animal or object, or photograph your own.
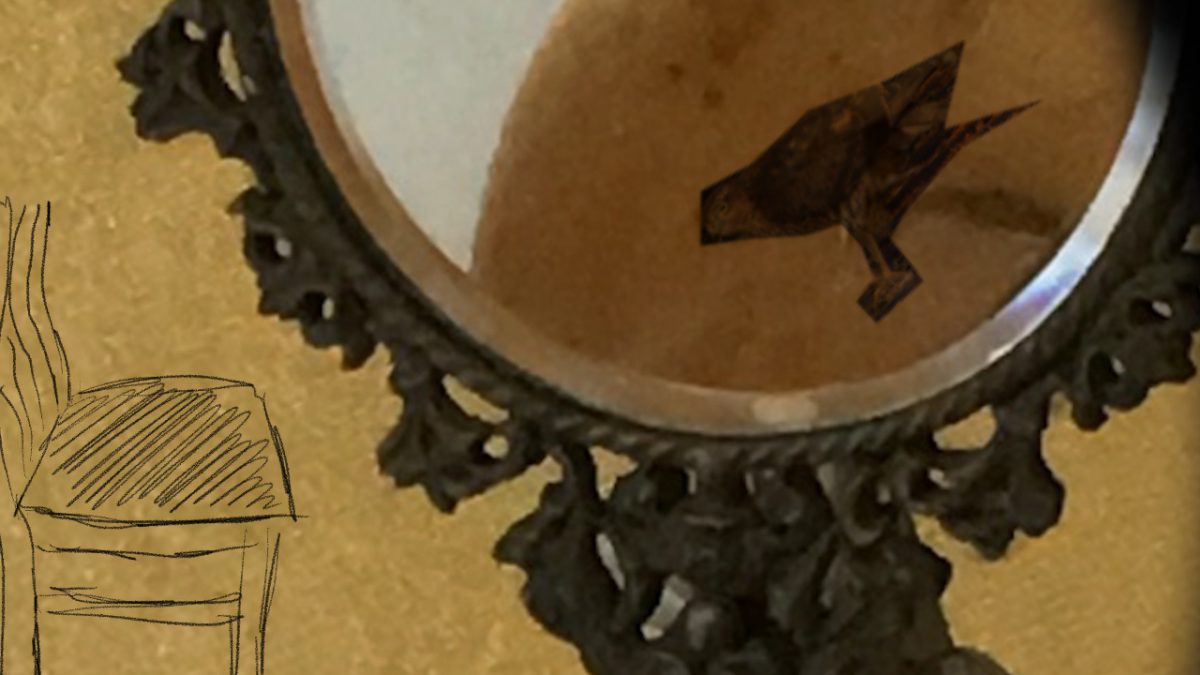
    Bring this in to your editing software as a new layer and use the matte function to overlay this image onto your rotating chair.

    You can work as simply or as intricately as you like. The result need not be slick or believable. The purpose of the exercise is for you to explore the basics of using matte’s and to gain an understanding of compositing. If you like you can bring in a moving image to apply the matte to, but a still image will suffice.

    Bear in mind the matte feature may be called ‘mask’ in your editing software (in iMovie it is often referred to as ‘green screen’ or ‘blue screen’). Almost all editing software will have some level of basic matte or masking that allows you to work with at least two visual layers.

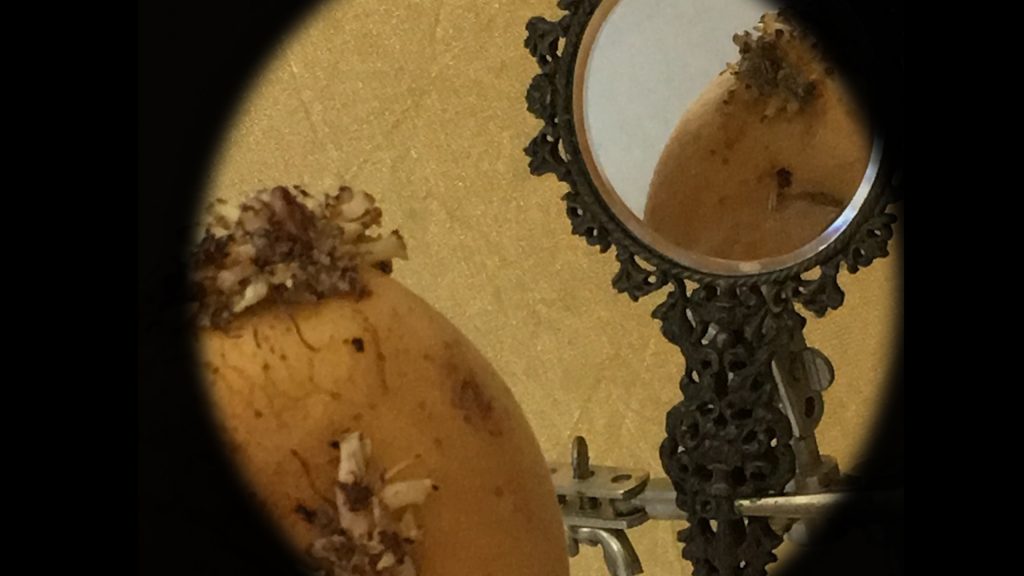
    Once you are comfortable using a matte/mask, you can extend this exercise further by exploring other ways of compositing. For example, try bringing in a line drawing and use a ‘multiply’ function to overlay this drawing onto your chair animation. Upload any extra experiments onto your learning log.

    The revolving chair at 24FPS. Initially I tried a slower framerate, but this gave too much jumping between frames for the masked bird to follow. I put one layer above, and one layer below the sparrowhawk so that the chair showed over the top when it was in back view.
    The Sparrowhawk: I masked this out using a pen tool, and overlaid this on top of the chair as a 3D layer, adjusting its position and orientation to try to fit the movement of the chair.

    Mirror background from Lockdown Haircut. I removed the vignette and increased the size to include only the mirror, as if the bird is looking into it. And put this as the background layer, with the chair layer set to multiply.
    Exercise 3.5 Garbage Matte and Basic Compositing
    Project 3.7 Ken Burns and keyframing

    American documentary film-maker Ken Burns is synonymous with an approach to documentaries using still images with a narrated voice-over where images are slow panned and zoomed using an ease-in and ease-out. That is to say, the movement starts smoothly and slowly comes to rest. Apple in fact named their ‘ease in ease out’ tool after the film-maker “The Ken Burns Effect”. You set the first ‘key frame’ (where you want the movement/zoom to start) and the final ‘key frame’ (where you want the movement/zoom to end). The software then interpolates the in-between frames.

    Adobe After Effects and Adobe Premiere allow very fine control over this movement with graph editors. But I really needed to use different images than indicated by the task to really explore this technique – see Assignment 3.

    TASK: Exercise 3.7 Keyframing and Ken Burns Effect

    Do some research about what keyframing ability your editing software has available (including the ‘ken burns effect’ if you have it).
    ● Explore this technique adding key framed movement to a single still image.
    Once you have mastered this, return to the editing project of exercise 5 (garbage mattes and basic compositing).
    ● Can you apply a key-framed move to one of the layers (either the chair or the object that you introduced as a new layer)?
    Explore Bezier curves and direct movement if your software offers this.
    Upload a short experiment demonstrating that you have come to grips with basic digital keyframed movement to your learning log along with any notes on how easy or difficult you found this process and what resources you used to help you.

    Animated fly in of Sparrowhawk with Ease-in Ease-out to the chair in freeze frame. The chair animation was reversed so that started facing the mirror ready for the Sparrowhawk to land. This was a bit tricky because of the multiple pre-compositions and blend modes. And the rather complicated movement meant I had to put in a keyframe in the middle.

  • E1.3: Rotating on a Chair

    E1.3: Rotating on a Chair

    For this animation I was asked to make a drawn animated loop of about 24-48 frames of a chair spinning 360 degrees. I did this on my iPad in Procreate.

    • Step 1: Set up a chair in the middle of the room. This was a little bit tricky as there is no room in my house where it is possible to have a chair in the middle far enough away to move around while maintaining the same distance and viewpoint because other furniture gets in the way. I could have added an object, but the simple chair was in itself enough of an interesting challenge.
    • Step 2: Make a drawing of the chair (and object). Work fast, loose and try to fill most of the page. No more than 3 minutes per drawing. Then move your seating position a few degrees to the right and make another drawing from this new perspective. Then move and draw again until you have encircled the chair and made drawings from roughly all positions around it. Number your drawings as you go along on the corner of the page.

    I did very quick sketches in Procreate on my iPad, some shaded and some not. Using onion skinning to maintain some semblance of alignment and scale despite the need to draw from slightly different distances and heights to avoid furniture/stand or sit etc. I actually quite like some of the variation – it seems like the chair is sometimes coming nearer, sometimes receding and the occasional shaded frames add interest. I could experiment a lot more with this – adding more or less variation, doing all shaded shapes or all sketches and getting mor or less constancy in size through cropping/transformation and redrawing with more accurate linear perspective.

    • Step 3: Import your images into your editing software. Starting with 24 frames per second, I experimented frame rates: 6FPS, 12 FPS and 15 FPS, and with loop and pingpong variants.
    Chair revolving 24fps
    Chair revolving pingpong 12fps
    Chair revolving 15fps
    Chair revolving 6fps