Project Tag: kitchen

  • E2.6: Distorted and Exaggerated GIFs

    E2.6: Distorted and Exaggerated GIFs

    Movement observed, ‘captured’ and distorted

    An animator must imagine every aspect of the image and its motion. This reliance on imagination frees the animated form from the necessity of real life observations as in the early experiments with visual music. The history of commercial animation started with the studios set-up by the Disney brothers, Warner brothers and Max Fleischer in the early 1900s, Max Fleischer studios (creators of Betty Boop) were keen to explore the plasticity of drawn line and more experimental forms and Oskar Fischinger worked on Disney’s most experimental and inventive film, Fantasia.

    However commercial animation has predominantly been built on a highly representational approach. The decomposition and re-composition of real movements recorded by the camera became an integral part of Disney’s animation-making process, along with other studios at the time. Animators in Walt Disney studios would shoot live action films, make what they call ‘photostats’ (which were separate reprints of blown-up frames in the form of a flipbook) and study the movements frame-by-frame. Animators attended life-drawing classes, and used Edweard Muybridge’s sequential photographs of movement to study motions of animals (Muybridge was an English photographer important for his pioneering work in photographic studies of motion, and early work in motion-picture projection).

    However these techniques generally produce lifeless results that do not communicate clearly to the viewer. (see discussion of rotoscoping in Project 3.4) The questions of what to leave out and what short-cuts to take are the key creative decisions in making animation readable and also have emotional story-telling impact. Drawing classes at Disney and other studios therefore started to focus on more expressive principles of animation involving distortion, simplification and amplification of observed movement.

    TASK:
    Make at least three loops to explore the principles of ‘squash and stretch’ and ‘anticipation and overshoot’. Work fast, loose and expressively in any medium. Push your approach by overly distorting or exaggerating these movements, as well as refining them to their essential qualities.
    Upload your GIFs to your learning log along with any research.

    These principles focus particularly on:

    Instability of line: As a general rule, to add life to a drawing, the identity of line should be unstable. The unstable line implies movement, breath, what we know to be life-like as in the discussion of ‘Boil’ in Project E1.2 and Research 1.1.

    Exaggeration: The most common form of this exaggeration is known as ‘squash and stretch’ where a shape is distorted to indicate the impact of gravity and energy, and also to reflect the effects of motion blur in our perception of movement. Including a frame or two of anticipated movement where the first frame of the movement moves in the opposite direction of the
    movement to give an illusion that the movement is ‘self-motivated’. This also allows the viewer’s eye to momentarily register that a movement is about to take place so that it can be the point of focus and viewed without being missed. This is then enhanced further by frames of ‘overshoot’ and ‘follow-through‘ representing movement of items like clothing, tails, hair etc and attention to secondary movement.

    See detailed discussion of Disney animation principles on VisCom4Dev blog.

    Swarm Fireflies

    My first exercise was done in Adobe Animate in response to activities suggested on my on-line Animation Academy practical animation course with Howard Wimshurst. This involved experiments in timing and positioning of dots in relation to each other to create a ‘swarm’. Then experimenting with shape and lengthening the lines to create an illusion of rapid movement without strobing.

    This was very interesting in demonstrating that animation is not about producing a series of sequential still frames, but creating images that show movement in themselves. Many of which may well not make sense when viewed individually outside the running sequence.

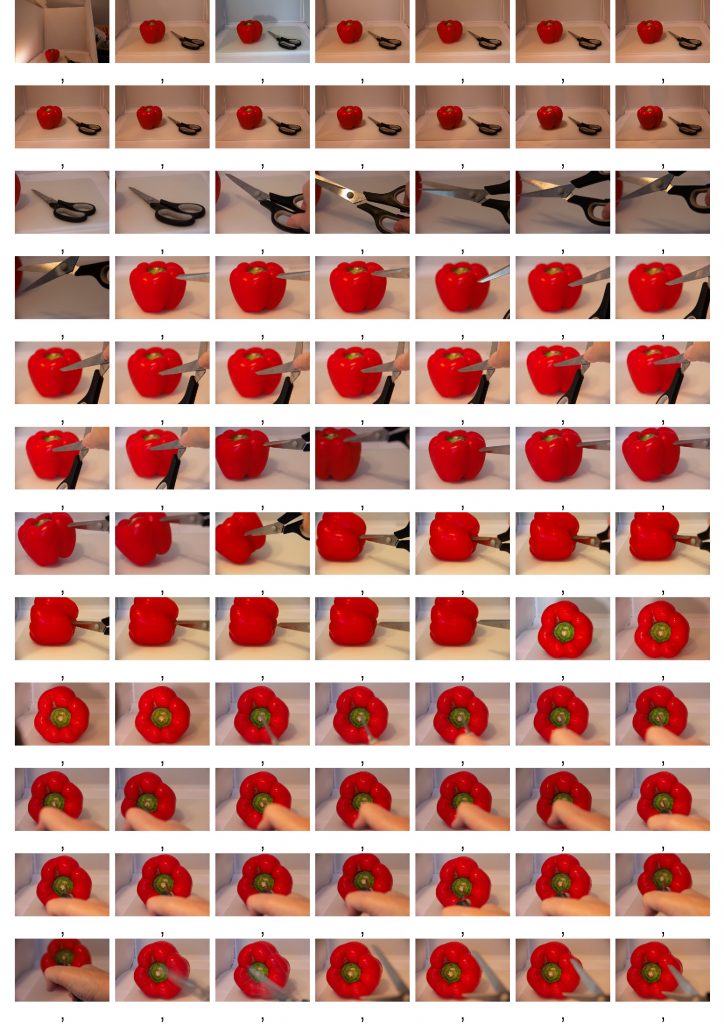
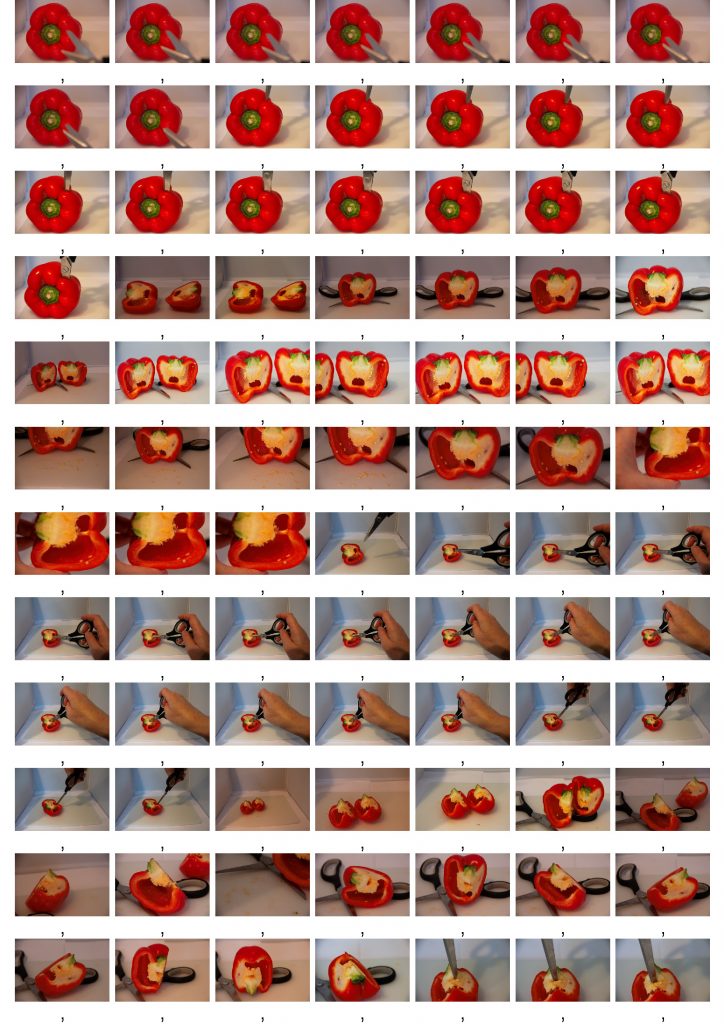
    Stop Motion Squash and Stretch

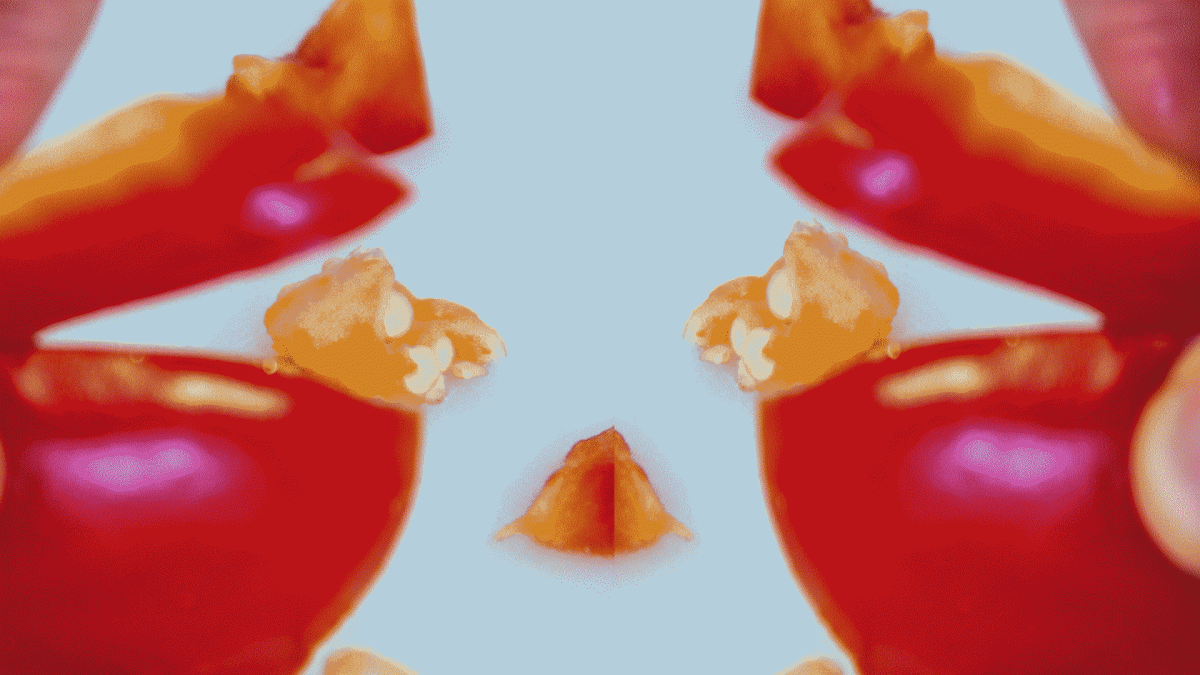
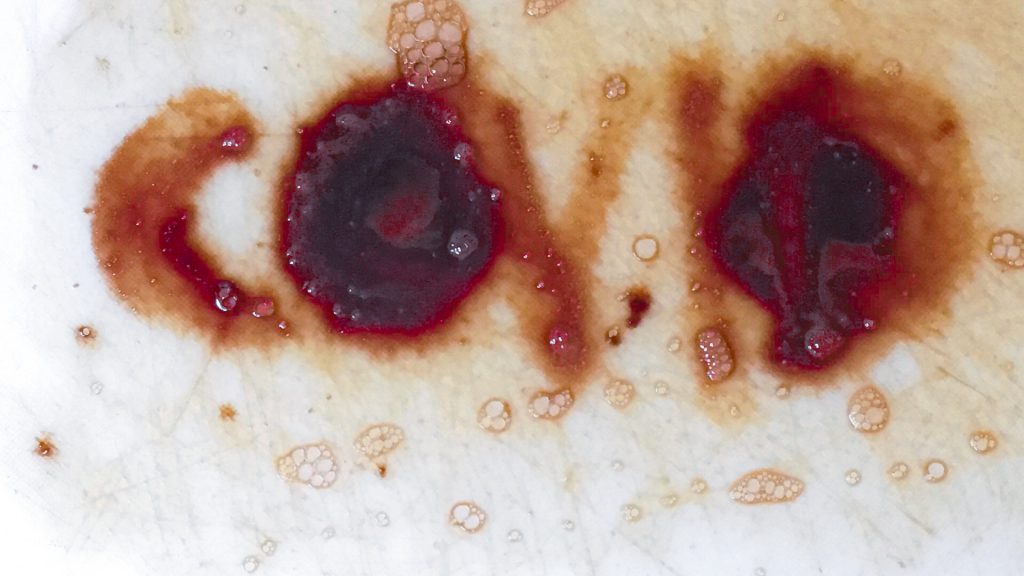
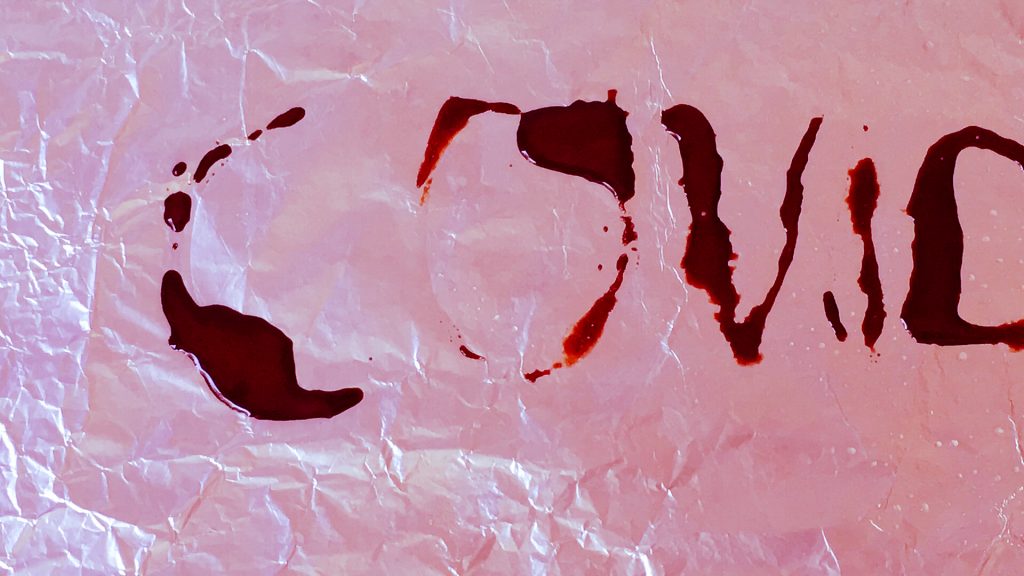
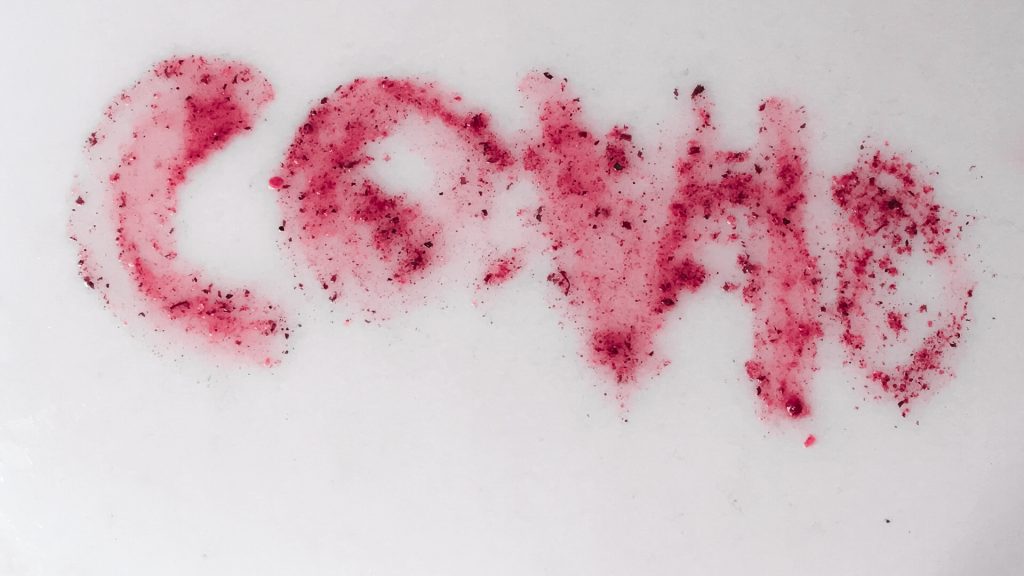
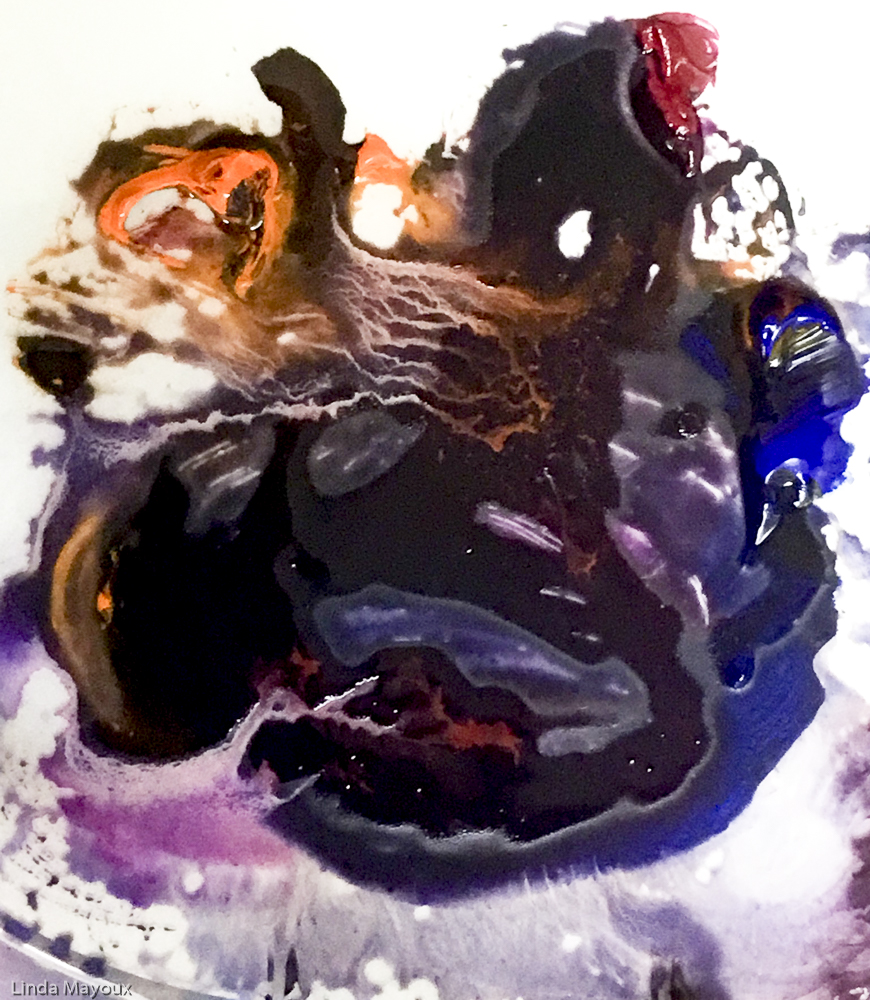
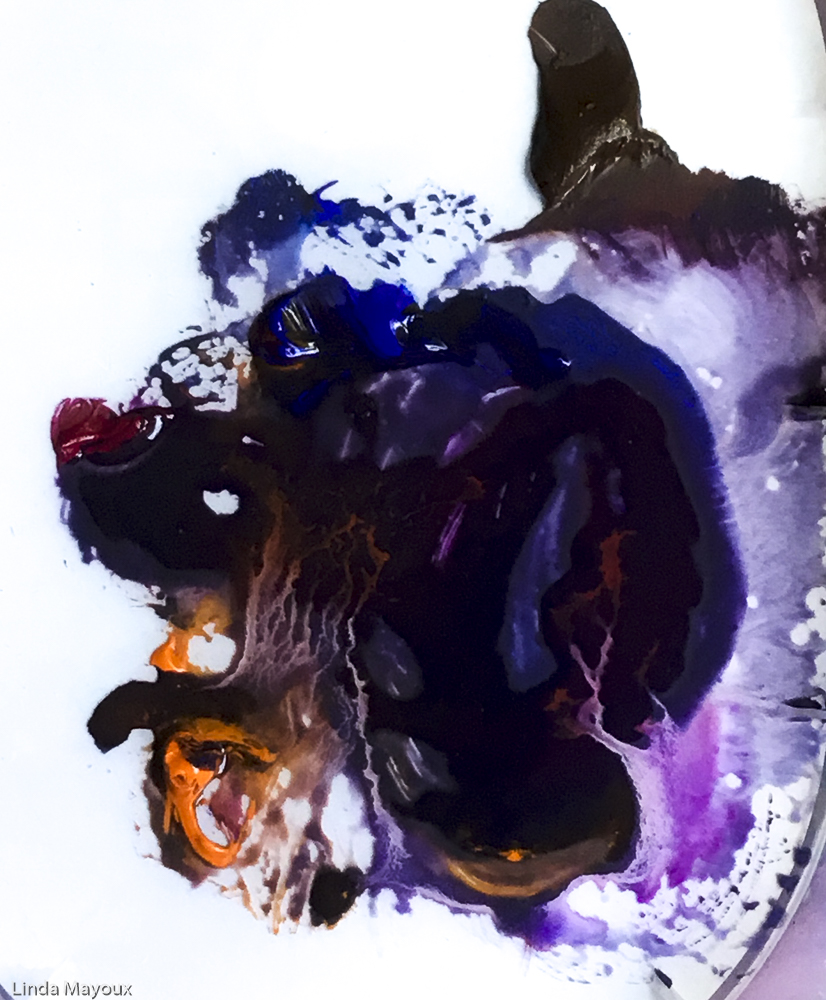
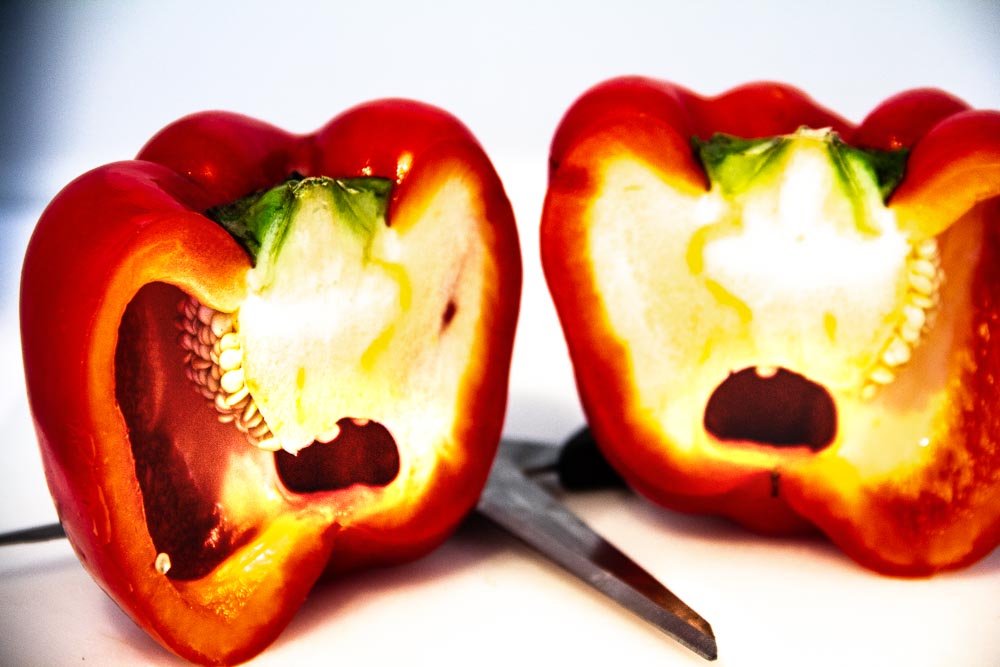
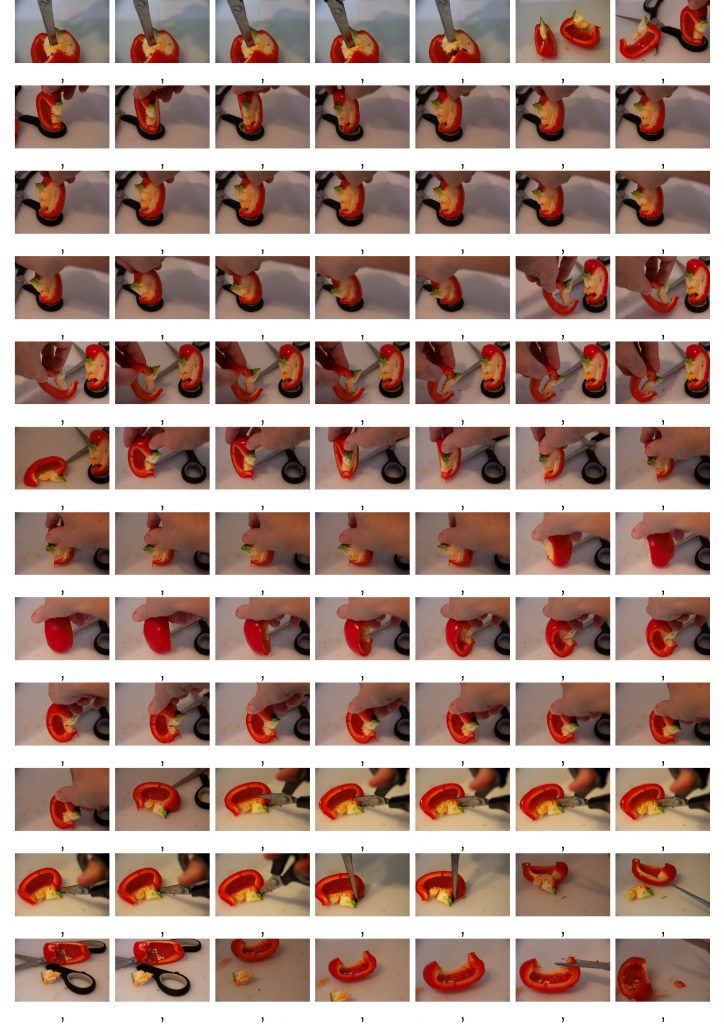
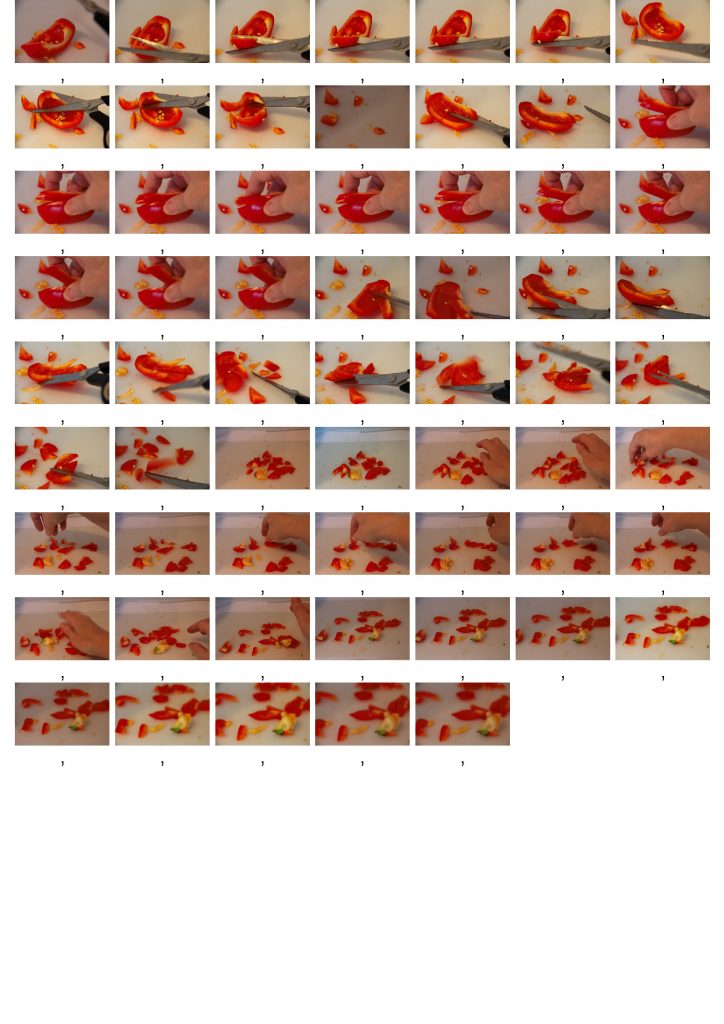
    Animation principles in Frame by Frame animation are explored in detail in my OCA Visual Communications degree courses. So for the other two animations I decided to see how things might work using Stop Motion, building on my materials explorations different materials in E2.1 Material Performance and with peppers and cabbage in Part 1 and and E2.4 Lip Sync.

    These experiments were quite interesting, and could be effective with a comic or allegorical narrative and a more interesting background. But I need a lot more practice to get smoother movement and then edit with time remapping in After Effects or Premiere. I could also experiment more with lighting – physical and/or digital – as in Death of a Cabbage.

    Interaction of Chips: I had somehow imagined that chips would be fairly elastic in squashing and stretching, but I found they disintegrated quite quickly. This movement needs to either have smaller and more frequent movement – difficult because my hands wither moved the chips too much or were captured in the frame. And/or be speeded up with time remapping to give more dynamism and variety. But with more practice I think this has some potential if I can create a comic narrative and appropriate background and lighting.

    Tissue fight: I find this also quite interesting, but again I needed to make much smaller movements to make things smoother and less jerky and/or selectively speed up some of the frames. Gives the detailed convoluted shapes, it might be interesting also to see how to build on this in After Effects using distortion filters. Again with a clear narrative, background and lighting.

  • E2.4: Lip Sync

    E2.4: Lip Sync

    ‘Lip sync’ – is a technique for synchronising animation with sound where the mouth of a character is shaped to mimic the way a live person would make noises or speak. The rules and conventions governing these mouth shapes were initially drawn or modelled for cel and replacement animation – (see the 2D animation tutorials at the end of this post_.

    Vector and 3D software are now able to create mouth shapes automatically. There has also been interest in software that can reconstruct audio and alter it from its original source, such as Adobe Voco, popularly dubbed “the Photoshop of voice”. Here not only is lipsync automatic, but audio recording can be altered to ‘put words into peoples’ mouths and animate people saying completely invented speech . However this software has not so far been approved because of obvious security concerns and the potential for political manipulation.

    This project goes back the other way, seeing how lip sync principles can be applied to Stop Motion manipulation of physical materials. I built on the Stop Motion work with Peppers from Project 2.6 In the Kitchen and experimentation with materials from Project 2.1 Material Research.

    TASK:
    Choose three different materials that are easily accessible in your kitchen, bathroom or garden to explore the use of lip sync.
    Make a series of stop frame ‘screen tests’ for these materials. Push them around, expose them to other materials and matter and do so incrementally to produce at least three looped test animations of approximately 20 seconds in length.
    Set-up your camera (if possible, connect your camera to your laptop and make use of one of the stop frame software listed below). Keep in mind the principles of animation that you learned in Part 1 of this unit.
    Upload these tests to your learning log and write-up a short description of each, explaining your intention, whether you discovered anything that you had not anticipated and what you would change if you made these experiments again.
    Include any future ideas of what each material or technique may be suitable for if you were to build on any of these tests towards a longer animated piece.

    1: Peppers

    2: Sponge

    3: Apple Peel

    Using Digital Animation Software

  • E2.1: Material Research

    E2.1: Material Research

    Material performances

    Animation allows for more freedom than other media in the physical manipulation and the direct and indirect moulding of a plastic medium. Animators can work directly not only with a stable or ‘permanent’ material or medium, but also transient materials.

    Working with materials allows for the discovery of particular temporal qualities of a particular physical materials, such as the way a material absorbs or repels another or how a material can be spread, gathered, dispersed or evaporated and the way they respond to external forces over time such as pressure, heat or gravity.

    Norman Klein developed the idea of animated metamorphosis (ani-morph) to describe what takes place within the process of metamorphosis.

    “Chalk, for example can be erased, broken into dust, shaded by hand. It
    has texture, traction, sound, what can be called the haptic (tactile, synthetic). The haptic is essential for all ani-morphed line, for all special effects, in one of two categories: it looks either anabolic (turning food into tissue) or metasomatic (rocks changing substance).”

    Norman Klein, Animation and Animorphs: A Brief Disappearing Act (2000) University of Minnesota Press.

    TASK

    The purpose of the exercise is to explore the different qualities of each material when they come into contact with different surfaces.
    Select:
    three different materials that are easily accessible to you such as salt, oil, soil, wax, torn paper, chewing gum, soap.
    three different surfaces such as paper, table, floor, fridge door, window, bath.
    Make three drawings using each material on the given surface. The drawings can be simple shapes, such as a triangle or circle, or they can be more complex.

    Upload photographs of your drawing tests onto your learning log along with a short write up of approximately 500 words or more answering the following:
    ● How easy was it to work with each material? Did you need to introduce a third substance to help you control the material or will gravity suffice?
    ● What resistance did each material give and how did these materials affect how you moved your hands and body to make the drawings? Do they leave a trace when moved?
    ● How would you assess the ability of each material in terms of their ability to be used in an animation? Would it be easy or fun to modulate, manipulate and transform these materials?
    ● What would the challenges be when using these materials in an animation? And how could this be overcome? And if you were to use them to animate would you use a different surface?
    ● Are there other ways you could think of to explore the expressive capacity of each material?

    Then, make a list of materials that could be used in animation. Next to each item, note the kinds of kinds of themes, subjects or ideas that they may be appropriate to convey through animation as well as any notes on a particular technique you could use.

    Experimenting with materials has been an integral part of my printmaking, book design and illustration practice in earlier OCA modules. I started by reviewing these experiments in terms of animation potential to generate new ideas to explore for this project rather than repeating things I have already done (See below).

    I decided to experiment with cheap materials and surfaces from the kitchen that were of fairly similar colour but different consistency, viscosity and texture in order to focus on the types of movement and interactions between:

    • ketchup, coffee and jerk powder
    • plastic chopping board, kitchen towel and aluminium foil

    I used the word ‘COVID’ as an issue that had emotive connotations for me at the time, and offered different letter shapes to see how shape of the drawing affected the way materials moved. I used water-spray and gravity to enhance some of the movements. I used StopMotion Studio on my iPad, on a tripod and set to automatic 1 frame a second exposure.

    Ketchup, the most obvious ‘bloody’ choice proved quite uninteresting and difficult to manipulate. Coffee was the most immediately interesting with its chromatographic dispersal and puddling. Particularly interesting results were from colour manipulation in Lightroom to produce very flesh and blood images. These could be replicated as animation in Premiere. See my more detailed discussion below.

    Taking the manipulation further I found particularly interesting the effects of increasing texture and sharpness together with more extreme colour changes. Doing this with jerk powder produced Brakhage-style brilliant landscape images with contrast between the grains and the coagulated paste around them and the softer surfaces. The coffee images on foil produced narrative images – see the cat about to pounce top right, the sea creatures and the figure on the left. These could be further developed into animated texture tales using more sophisticated image manipulation tools in Photoshop animated in TVPaint.

    1: Tomato Ketchup

    I started with tomato ketchup – a rather obvious blood-like choice. I expected it to behave like a blood-coloured acrylic or water-based oil paint or water-based printing ink – enabling both sweeping energetic strokes, smearing easily and running in rivulets with water and gravity (see earlier experiments below).

    I found however that it was quite viscous and difficult to spread on all surfaces, so I could not make free energetic strokes. It also dissolved and disappeared with water rather than running in streams, except on the aluminium foil.

    But it retained the marks of the spatula and was fun to smear and dissolve in water.

    It would also be interesting to apply it more thickly and drip it from a spoon in dollups before spreading and smearing, then writing into it and slowly dissolving it away. But I don’t think it would ever look like blood – it could be interesting to express anger at the kitchen and domesticity. However I manipulated these in Lightroom, I could not manage to produce particularly interesting images.

    1.1 Tomato ketchup smeared on plastic chopping board with a spatula. I expected something like acrylic paint, but ketchup is quite sticky. I sprayed water and tipped the board to see if it would run, but it stayed quite static. So I started to erase into the water to get a smeary effect. Then wrote again and watched the way the ketchup moved out again into the water because there was no friction from the surface.
    1.2 Tomato ketchup smeared with a spatula on kitchen towel following a similar process. But I needed to use a lot more water to dissolve the ketchup because it had soaked into the towel. But this gives a rain effect and the ketchup nearly disappears. This would have been more effective if I had wet the towel in advance so that the texture was not so evident, and eliminated the light sheen.
    1.3 Tomato ketchup smeared with a spatula on aluminium foil following a similar process. In this case because of the lack of friction and absorbency the ketchup is more difficult to spread with the spatula and forms droplets that run in rivers and join with each other. It looks more like raspberry jam than blood.

    2: Coffee

    Next I tried instant coffee granules. I had used these before to paint with on paper and liked some of the watercolour effects and differences in tone and the way it spread. But I had not experimented on different surfaces. For this experiment I made a sort of coffee paste that I applied with a brush, and also applied neat granules to water on the surface. I experimented with adding salt and washing up liquid to create different effects.

    I quite like some of the effects here.

    Coffee, even the thickest paste on the chopping board or foil applied with a spatula, did not retain marks. But it spread and dissolved with an interesting mistiness, and made interesting bubble patterns on the aluminium foil.

    Simple colour changes in Lightroom also gave an interesting flesh and blood appearance. It would be interesting to experiment with animating this in Premiere. I tried replicating this with the tomato ketchup above, but that did not produce much of interest – there is not enough dispersion of the material. It is the consistency that seems important, not the original colour.

    2.1 Coffee paste smeared on plastic chopping board with a dropper. This did not disperse quickly with water, but interesting marks were left when I brushed through and erased with a spatula. When colour edited in Lightroom, this produced a quite vivid blood effect – apart from the bubbles.
    2.2 Coffee paste smeared on kitchen towel with a dropper. Again this did not disperse quickly with water, but made very interesting chromatography-type dispersal tones when more paste and water were dripped on. It was also quite interesting when the towel split. When colour edited in Lightroom, this produced a quite vivid fleshy blood effect that could have been enhanced by covering the whole towel. It is the delicate tonal gradation that is interesting, and the way it changes with animation.
    2.3 Coffee paste smeared on aluminium foil with a dropper. This made quite interesting reticulated textures with water and gravity. Addition of washing up liquid also made interesting images – almost the basis for stories that could be worked over in eg TVPaint. When colour edited in Lightroom, this produced a vivid blood spill effect. It is the consistency that seems important, not the original colour.

    3: Jerk spice

    Finally I tried an old out-of-date jar of jerk spice – a much more sand-like version of the coffee granules that dissolved a bit, but not significantly in water. I sprinkled these on and then added water. These were the least interesting because they did not really interact with the surfaces at all. Nor did sprinkling produce clear letters. This was more difficult to do than I expected.

    But what proved a bit interesting was the final experiment on aluminium foil and the marks incised into the foil and the way they were slightly emphasised by the colour of the jerk water and added texture of the spice grains. This could be enhanced with colour and texture adjustments in Lightroom to produce vivid colours and contrasts between the grains and more sticky paste that coagulated around them, and the surface. This is something I could experiment with a bit more deliberately with animation.

    3.1 Jerk spice made into a textured water paste, spinkled onto the chopping board with my fingers, then more dry spice sprinkled on. Sprinkling letters at this size with my fingers proved much more difficult than In expected. And did not produce very interesting results.

    A colour-processed version in Lightroom was more interesting with its very contrasting textures between the grains and the coloured water paste.
    3.2 Jerk spice on kitchen towel following the same process. This was pretty unsuccessful on all counts and did not produce very interesting results.

    But experimenting with colour and texture processing in Lightroom did produce some quite interesting results where the contrast between the grain and the tissue paper enabled interesting colours and marble effects.

    3.3 Jerk spice on aluminium foil following the same process. What proved a bit interesting was the final experiment on aluminium foil and the marks incised into the foil and the way they were slightly emphasised by the colour of the jerk water and added texture of the spice grains.

    When sharpening, texture and colour contrasts were put to their maximum in LIghtroom this did produce a quite interesting Brakage-style effect that I could explore further retaining the texture contrasts, but altering the colours in Premiere.

    Previous material experiments

    Book Design

    For my final Book Design project this was the main focus of the final assignment: A to Z from Armageddon where I explore use of different materials beginning with each letter of the alphabet, composited in Photoshop.See particularly images and links below:

    This did not work very well as a book concept, but could work better as part of an animation, or animating the process itself. For example processes of smearing and treacle dripping with gravity, movement ot the jam and jelly and the different reflections of light on the metallic paper.

    Letter G using grease, graphite and glue

    Letter J creating images from
    jelly and jam in jade colour
    Letter M compositing images from light
    on Metallic Paper.

    Letter T using treacle and tissue paper

    lllustration and printmaking experiments

    I also experimented with glue, ink, watercolour, gouache and water-based inks on paper, tile, glass and perspex. Some of the images themselves could be animated and layered digitally using warping, blending and/or making puppets. I would also like to experiment with stop motion animation of the media being applied and/or dripping with gravity and/or changing colour and texture in drying. Working on glass, tiles or perspex plates gives particularly vibrant colours and interesting marbling that can be manipulated for a long time.

    Glue and Charcoal: Octavia

    Water-based printing ink on tiles and glass

    Dipped ink printed on paper

    Gouache with dripped water
    left to dry on tile

    Gouache diluted with water
    blotted between sheets of paper

    Gouache/watercolour
    dripped on paper

    Drips/blots
    layered and blended in Procreate

  • E1.6: In the Kitchen

    E1.6: In the Kitchen

    TASK: Make an animated loop using photographs you take in your kitchen. Find objects that are of a similar shape and/or frame views that have the same dominant composition. Take inspiration from the technique employed by Toby Cornish and Jonathan Hodgson’s animations in particular. Experiment with continuity, pace, speed and disrupting this continuity. Upload the results to your learning log along with a short written text of 200-500 words explaining your rationale and approach, as well as any preliminary sketches and photographs.

    I started by assembling jars and bottles of varying size and shape from the kitchen. Then I used Stop Motion Studio on my iPad to shoot one picture of each of them. With the alcohol bottles I shot some more narrative options as well. I shot them in the kitchen using on a cloudy day using my photographic lightbox and small photographic spotlight I already have. To do anything dramatic I really need to invest in better lighting and equipment for the photography.

    I experimented with sequencing, speed and reversing frames in Premiere. This was interesting – even with a few images it is possible to experiment with emotions of frenetic change and slowing down, slow dissolves of identity and punctuated obsessional movement. But I think will be more interesting if I combine with music and some sort of underlying narrative. Looking forward to doing that in Assignment 2.

    Varying Speed 10-15-50-75-100-200-300-400% with reverse frames.
    Dissolving experiments with crossfade lengths and speeds.

    Obsession: punctuated disruption by whisky.

  • E1.5: Animorph

    E1.5: Animorph

    TASK: Make a GIF animation of a fruit or vegetable transforming. (approximately 10-20 seconds in length)

    1: I Love Peppers

    Step 1: Experiment and make test photographs
    Step 2: Whilst taking photographs, make incremental changes to your fruit or vegetable until it has been completely transformed or even destroyed (peel, shave, slice, bite, scratch).

    This was my fist ever StopMotion animation attempt. I was intrigued by the Jan Svankmajer animations ‘Dimensions of Dialogue’, ‘A Game with Stones’ and ‘Meat Love’ though aware that he had a whole studio of animators and experience supporting him. Normally for OCA ‘vegetable/kitchen projects’ I had chosen oriental mushrooms because of their anthropomorphic and expressive characteristics. But we had just received two beautiful red peppers in our organic veg delivery and they sat invitingly on the fridge shelf. I had always loved Edward Weston’s gnarled specimens in his black and white photographic series on Peppers: for one esample see https://www.artic.edu/artworks/120846/pepper but many more can be found on a Google search. My peppers were much more ‘dumpily feminine’ with lipstick red curves.

    I started Step 1 with some very general ideas that could be adapted to my equipment and set up. I did a very quick sketch of ideas for movement from Svankmajer in my Notebook, but was not really sure whether these would be feasible for me to do on my own with my very rudimentary set up. So I decided to first jump right into Step 2 and experiment with one of the Peppers, using scissors rather than a knife and see how far I could replicate some of the Svankmajer effects.

    It was a cloudy day and I had a small photographic lightbox with small spotlights so I could control the lighting pretty well. I estimated that for 10-20 seconds of animation at 24FPS I would need 240-480 frames. I thought some of the images would be held for several frames or maybe animated in Premiere, and others would be very rapid. So a rough average of 2 frames per image, total 120 – 240. I systematically demolished part of my Pepper, prodding and poking and piercing as I divided into 2 halves, then as 1/2 halved to two 1/4, then one quarter was repeatedly cut up rather randomly and frenetically. I used a Zoom lens on my DSLR in Aperture mode, varying zoom, point of focus and shutter speed and a tripod. I photographed everything spontaneously as I went, trying to emphasise the different types of movement through slowing down or speeding up and maintaining consistency of position within sequences.

    I basically just went with the flow – enjoying the prodding, poking and piercing as a release from the tensions of lockdown. I quickly realised that many of my ideas were more ‘continuous motion video’ than Stop Motion still sequence approaches. My ‘transformations’ were more ‘total destruction’ than ‘metamorphosis.’ I really needed proper equipment to hold the pepper and Stop Motion software with onion-skinning so that I could control the movements much more precisely, and get more variation in perspective etc.

    But as I worked a number of ideas came tom me about the potential symbolism and themes that I might use in constructing a narrative for this animation:

    • I discovered just how sensuous and sexy my Pepper’s curves were – the shiny smooth buttocks and mouth shapes on the outside and the smushy flesh on the inside when cut up.
    • The seeds inside were both eggs in a cocoon and also like tears.
    • I discovered all the different vulnerable, scared and screaming faces, heads and body shapes that emerged as she was cut and sliced. And the very vulnerable goosebumps of the lighter flesh inside.
    • I was also rather worried about the sadistic forces that seemed to have suddenly unleashed inside me. As I pierced with the scissors slowly then fast, and squashed bits together in images of submission between my fingers.
    • The lightbox was also a very clinical white enclosed setting where violence could be perpetrated. Sometimes as if behind closed doors through the peephole of my lens. Other times like a beauty pageant with all on display.
    • As photographer I was also an actor conceiving and controlling events.

    I reviewed and made my first selections of images in Lightroom. And as I went through the title ‘I Love Peppers’ came to me – as an ambiguous statement about love, cruelty and potential for enjoyment of pent up anger and violence. This became the theme then underpinning the editing process.

    I reviewed and made my first selections of images in Lightroom and colour synchronised them to improve white colour balance and slightly increase the saturation of the reds.

    Contact sheets

    I reviewed and made my first selections of images in Lightroom and colour synchronised them to improve white colour balance and slightly increase the saturation of the reds.

    I also experimented with different processing and masking in Lightroom to emphasise colours and textures in different ways and sharpen areas of focus.

    Step 3: Upload your images onto your computer

    I decided to experiment with timing and sequencing in Adobe Premiere and went through a number of on-line training courses on lynda.com and You Tube to update my skills – I had not used Premiere for about 5 years. I imported the original image white/colour-balance corrected sequence as Tiff files at 24FPs and 0.50 seconds per frame as a starting point. In Premiere I organised the images into subclips according to stages in the narrative. I then worked with each of the subclips to vary and experiment with the speed and pacing, including some animation effects on the still images to get more movement. I also experimented with some hold frames and reversed loops.

    Some of the image sequences when speeded up and put in a pingpong loop are actually quite smooth like video. The end on Red Pepper II with the very slowed down images was an accident because of rendering problems. But it gave me some further ideas for a slower and much sadder ending. Red Pepper III is better but it was very difficult to work with the large image files, and to predict how the looping and different animations and frame speeds would export, even when I pre-rendered subsequences and nests.

    I think these images and ideas have potential to be developed further with animatics and sound in Part 2, despite the challenges in the photography process. Using a DSLR enabled a lot of experimentation with focusing etc. But the images still need a lot of editing work. I need to go back to Lightroom, put in more sequences and rework some of the images with final narrative in mind, and export from LR as smaller files to make the rendering and preview process much easier to be able to predict how the sequences will actually export. Some of the editing might be easier if I export straight sequences from Premiere to After Effects for the more complex animation, adding transitions etc.

    I also ordered a gooseneck iPad tripod so that I can experiment with iStopMotion on my iPad in the following projects.

    Red Pepper 1: My first selection of still images without animation.
    Red Pepper II: Reselection with more images as still sequences for animation. Some of these sequences are actually quite smooth like video. The end with the very slowed down images was an accident because of rendering problems. But it gave me some further ideas for a slower and much sadder ending. Possibly I should put dissolves and do some selective motion blur in Photoshop.
    Red Pepper III: The animation so far. Here I did reversed loops of the cutting sequences and varied the speed and animation throughout. This could still be significantly improved. But I need to go back to Lightroom and work with much smaller image files so that the exporting process is more predictable.

    2: Haircut

    Potato held in place. iPad and gooseneck tripod.


    Step 4 (Optional): Make a 20-30 second animation by returning to your set up with locked camera in place and repeat the process with a different fruit or vegetable. Ensure that the [detritus] last shot is in the same position in the screen as the last shot of Step 2 to enable you to create the following illusion: change the names of your images or manually reverse their order in your editing timeline so that the images play in reverse order. Add this to your initial animated sequence and export.