Documentary
It is a source of fierce academic debate whether terms such as ‘animated’ and ‘documentary’ can be joined together in any meaningful way. The word animation refers to ‘highly mediated and manipulated imagery’ and the word documentary suggests a ‘story based on facts’. In the unit Fact and Fiction the proposition was made that the boundaries between narrative film and documentary film are somewhat blurred. In that unit we explored questions including ‘what, or whose, reality is being referred to, or constructed in a documentary?’. It seems misguided, therefore to believe that documentary somehow ‘captures’ reality. Perhaps, if documentaries are understood as offering analyses of reality, ones that are often highly personalized and constructed, then the seeming contradiction between ‘animated’ and ‘documentary’ is not as obvious as it first appears.
Moving Image 1: Animation course text
Landscape animation
In making any kind of moving image, place is important in how locations and chosen and depicted, and through this, ideas of places can be constructed. This concern has been taken up by so called ‘landscape animators’, a growing trend of large-scale animation that is set in the landscape, cityscape or within the built environment, inspired by landscape artists such as Andy Goldsworthy, Christo and Robert Smithson. These artists normally work with found objects to create site-specific animations, influenced by the location and the natural materials found on the site. The large-scale nature of this work entails the inclusion of the duality of animation and environmental time.
Moving Image 1: Animation course text
TASK:
Make an animation that responds to a place in some way.
Find a particular place or ‘site’ and draw inspiration from it. You could use a personal, shared or a public space. The type of space and your approach to it is entirely up to you.
Make an animation in response to its particular qualities and contexts. You could develop your own ‘landscape animation’ by working directly in and on the space (see further below), or you can respond to the brief by working digitally, drawing attention to the context, history or other aspects of this place.
Once you have chosen your site, do as much research as possible – both visual research and conceptual. Make short animated tests to try out techniques and ideas. Pull together diagrams, writings, rough storyboards and a scratch track. Place all of these into an animatic and work into this animatic making different drafts as you go along.
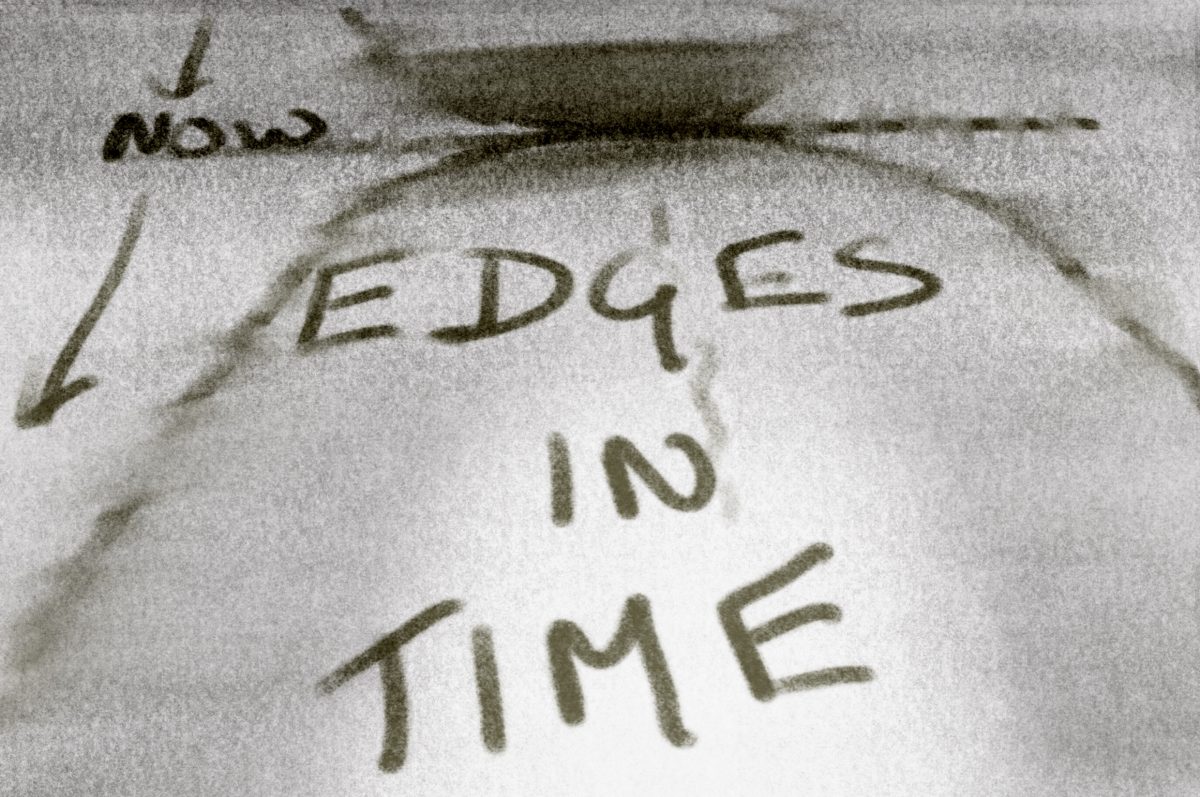
‘Colours of Shingle’ is an ongoing project about Shingle Street in Suffolk for SYP portfolio ‘Edges in Time’. Informed by discussions in psychogeography and visual storytelling, my work for SYP includes sketchbooks, creative photography, book design.
The aim of this Moving Image project is to explore the contributions of video to my understanding of place that can be enriched by, and contribute to, this wider body of work.
It is also part of a much longer term aim to establish skills in iPhone documentary video. Although the iPhone is not the preferred camera for high end cinema, its portability makes it a very good option for documentary where the aim is to interview local people at their ease, to have accessible equipment that can be taken anywhere and at any time and produce short clips than can be easily and quickly uploaded on-line. It also provides a learning curve within my financial budget that can help me develop skills that I may take forward with more professional equipment at a later date.
The two video experiments developed here are preliminary parts of a work in progress, pending a further visit to Shingle Street Spring 2022 to get more local feedback and input. This local input was delayed by Covid restrictions and the need top protect not only myself, but also many of the potential respondents who are elderly people who have retired to the area.
The material here will be updated, bringing together new footage and brought together as part of MI Assignment 5 and SYP assessment portfolio. I also plan to do some experiments with ‘landscape animation’ of shells and shingle.
See also:
Research 3.2 Animated Documentaries
Research 3.3: Landscape animators
Documentary Video: first iPhone experiments
These first experiments were filmed at the end of October 2021. My first attempts at video on location with my iPhone ProMax 12 mounted on a Hohem gimbal, so a learning process.
As with all video, footage out of the camera even if it is an unedited flow is not some ‘real truth’.
- Filming is selected from a wide range of ‘reality’ potential details. Specific focus, framing and perspective convey certain meanings and messages that explicitly or implicitly reflect the photographer’s subjective world view.
- Colours are reproduced as digital signals using a specific algorithm that varies between cameras, and may not be ‘accurate’ in terms of how the filmmaker or other people perceive and experience them. Perspectives are altered depending on which lens is used to capture detail and impressions from near, far and medium distance objects.
So a key part of the experimentation was also at the processing stage in Premiere – not just narrative sequencing and layering and audio editing, but also experimenting with tonal and colour balance, scaling and sharpening and film speed.
Going North
My first experiment was filmed on the Coast Path walking North from the Beach Car Park towards Orford. The predominant impressions I had were:
- loneliness/solitude (which?) in the vast space with the huge sky and flat landscape with one isolated (holiday) cottage and the separate individuals and couples walking, enjoying the solitude (though there were more such people than I had seen before)
- wind – this blew my gimbal repeatedly 180 degrees and made smooth recording very difficult. But something I could maybe experiment with as an ‘experiential effect
- geese gathering for winter migration and flying away
- autumn reeds and reflections
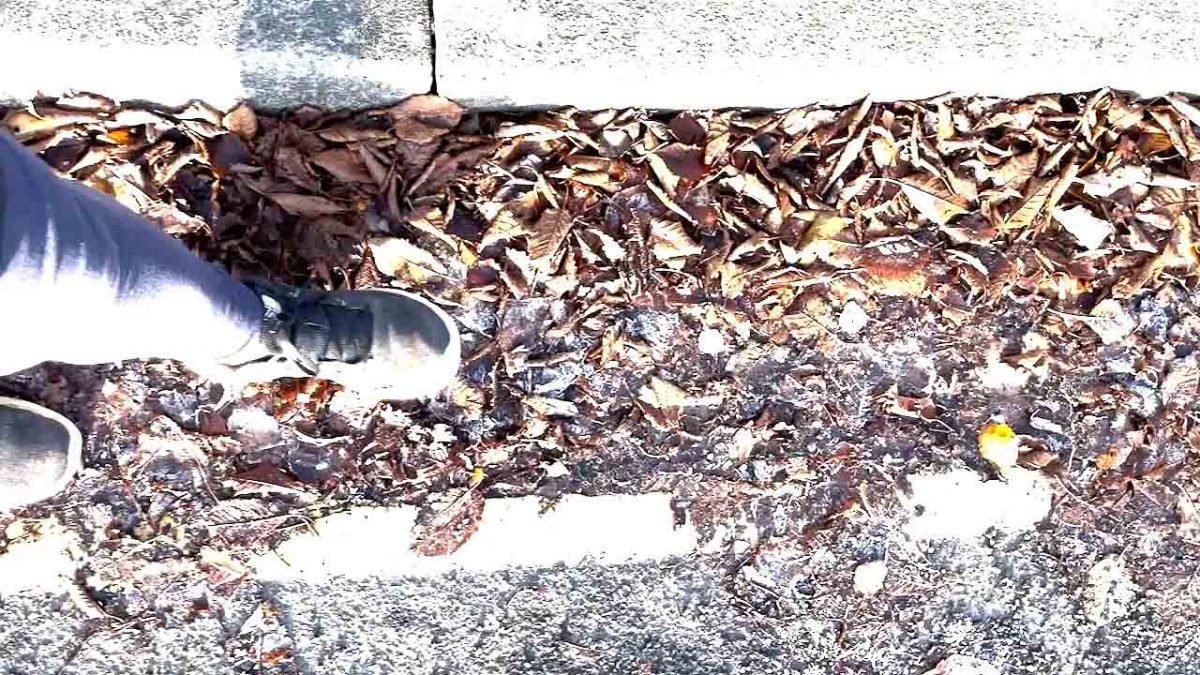
- uneven footpath with many holes and needing to watch carefully where I was walking.
The overall effect I wanted to portray was one of vastness, enjoyment of space and solitude after working from home, and experience of walking in this environment. I kept the wind noise, but toned it down a bit in Audition.
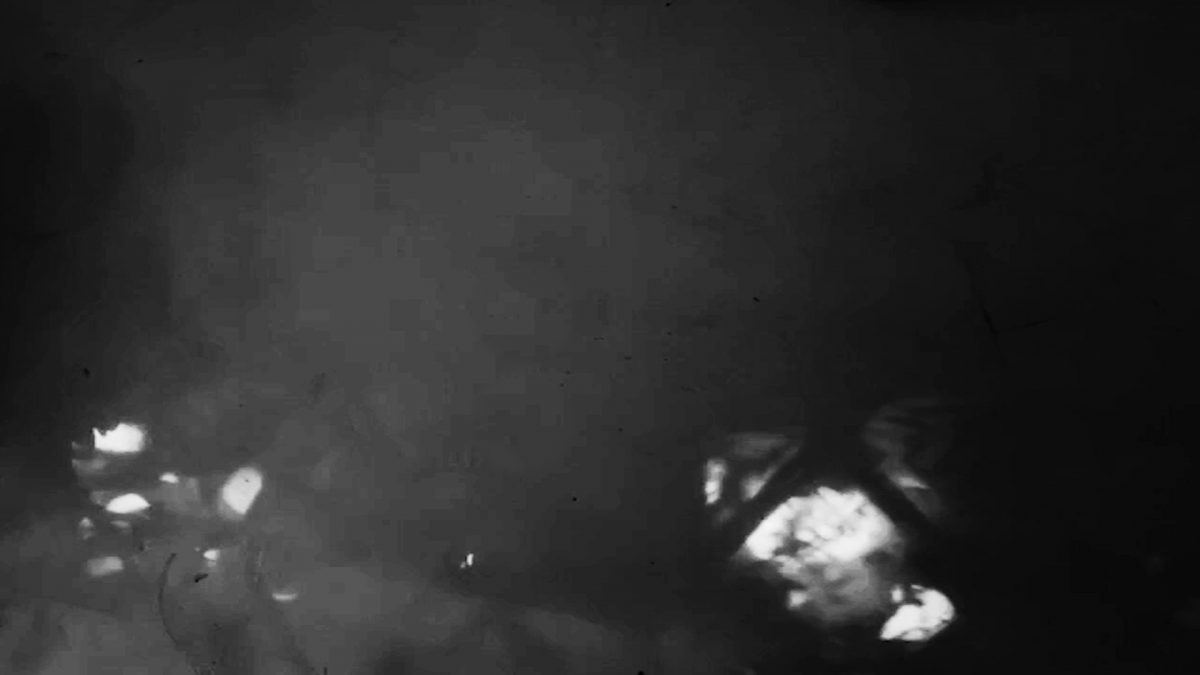
The black and white version really abstracts the bleakness, space and solitude. I really like the overall feel of the video and some of the shots and overlays eg the reed beds, geese and clothes on the washing line. I also do not mind some of the shakiness.
The Gold Rush LUT is a very different feel of the glow of colours at sunset – something that was ‘real’ when the sun comes out but not captured by the iPhone algorithm. But going forward – if I want ‘realism’ – I need to make detailed notes on location about my experience of colours and how they change with changes in light and sky, and apply the LUT in a more nuanced way.
Walking with Skylarks
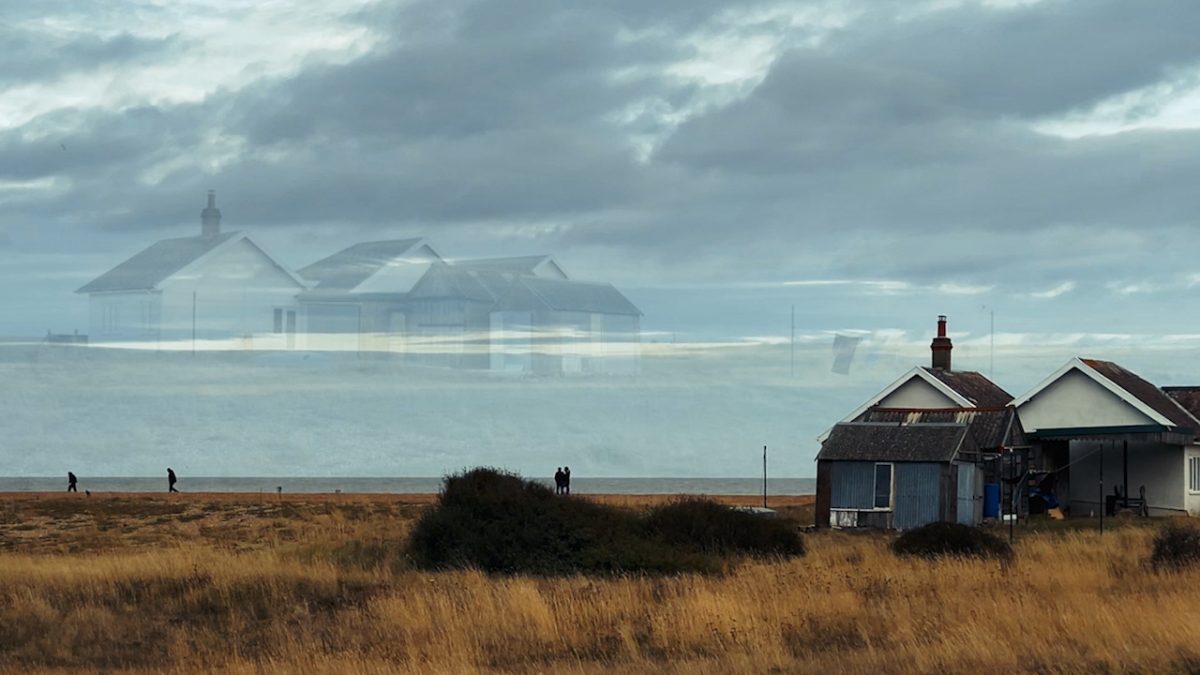
My second experiment was filmed walking along the houses in Shingle Street from the Martello Tower Car Park towards the Beach Car Park on a sunny but still windy day. The predominant impressions I had were:
- sound of skylarks on the wind
- play of sun, shadows and reflections on the walls of often empty houses (reminiscent of Maya Deren)
- desert-like shingle landscape with tall brown remains of the giant mullein plants that in summer had covered the whole are with yellow.


Going North
My first experiment was filmed on the Coast Path walking North from the Beach Car Park towards Orford. The predominant impressions I had were:
- loneliness/solitude (which?) in the vast space with the huge sky and flat landscape with one isolated (holiday) cottage and the separate individuals and couples walking, enjoying the solitude (though there were more such people than I had seen before)
- wind – this blew my gimbal repeatedly 180 degrees and made smooth recording very difficult. But something I could maybe experiment with as an ‘experiential effect
- geese gathering for winter migration and flying away
- autumn reeds and reflections
- uneven footpath with many holes and needing to watch carefully where I was walking.
The overall effect I wanted to portray was one of vastness, enjoyment of space and solitude after working from home, and experience of walking in this environment. I kept the wind noise, but toned it down a bit in Audition.
The black and white version really abstracts the bleakness, space and solitude. I really like the overall feel of the video and some of the shots and overlays eg the reed beds, geese and clothes on the washing line. I also do not mind some of the shakiness.
The Gold Rush LUT is a very different feel of the glow of colours at sunset – something that was ‘real’ when the sun comes out but not captured by the iPhone algorithm. But going forward – if I want ‘realism’ – I need to make detailed notes on location about my experience of colours and how they change with changes in light and sky, and apply the LUT in a more nuanced way.
Walking with Skylarks
My second experiment was filmed walking along the houses in Shingle Street from the Martello Tower Car Park towards the Beach Car Park on a sunny but still windy day. The predominant impressions I had were:
- sound of skylarks on the wind
- play of sun, shadows and reflections on the walls of often empty houses (reminiscent of Maya Deren)
- desert-like shingle landscape with tall brown remains of the giant mullein plants that in summer had covered the whole are with yellow.
I edited the audio in Audition, cutting the soundwave to significantly reduce the wind and amplify the skylarks to the level I perceived them at. I left in the clicks and walking that signified my voyeur presence. And added wave sounds that were actually too far away to be heard at low tide when the video was shot.

Exploring Shingle Street: Background Research
Shingle Street is a small remote coastal hamlet at the mouth of Orford Ness, connected via Hollesley village situated between the ancient town of Orford and the small manor town of Bawdsey. My understanding of the place has changed and deepened since my first visit in January 2020 on the eve of Brexit. The subsequent Covid-19 pandemic seriously limited my ability to pursue the sort of documentary work around economic and political views of local people – not only for my protection but because many are retired and older than me.
This project is explicitly subjective, reflecting the ways my own experience of the place has evolved and deepened. My first very bleak impressions in my dark mood of post-Brexit alienation from anything English – heightened by the multiple Union Jacks on the deserted brown grey shingle where the only features were the shrivelled pillars of mullein. But on repeat visits at different times of the year I have come to really feel at home in the constantly changing environment where colours change dramatically with the seasons – flower cycles that transform the landscape, bird migrations and bird song and favourite times for colourful kites as holiday-makers join local people.
Shingle Street itself consists of a row of cottages of varying age in a minimalist and haunting shingle landscape. It was established as a community of fishing families and river pilots for the River Ore in the early 19th century. The four Martello towers south of Shingle Street were built in 1808-1809. Coastguard cottages at the North end of the beach housed coastguards who worked as pilots, lifeboatmen and excise men to control the smuggling. In the 1930s it became an important place for remote tourism when several of the houses remaining today were built. During World War II this area of the coast was one of the main lines of defence and several buildings were destroyed, including the Lifeboat Inn, the hamlet’s only pub.
Today many of the cottages are picturesque but quite expensive holiday lets. An important feature is the Shell Line artwork created by two friends who visited during recovery from cancer. It has since been continually maintained as a prominent local landmark. The settlement has also inspired music and poetry. There are also a number of historical and environmental books by local people, and a Facebook page for people who visit regularly – discussing issue like fishing, local developments etc.
The settlement is part of a very fragile and unique coastal strip. The beach is a designated SSI because of its rare vegetated shingle, little terns, saline lagoons and geology. A report from October 2004 suggested that Shingle Street is at risk from the sea and could disappear by 2024 if sea defences are not erected. North Sea windfarms can be seen in the distance on a fine days. Current proposed development of the area around nuclear power at Sizewell and the current Freeport proposals for Felixstowe and Harwich also mean that the whole area will change significantly in the coming years.
‘Colours of Shingle’ is part of a substantial and ongoing long-term comparative body of work about the diverse but interlinked communities and environments along the Suffolk coast between Southwold and Felixstowe, including Orford, Aldeburgh and Dunwich and possibly other locations not yet visited, looking at the multiple interactions between these locations and their distinctive ‘Southfolk’ identity. They are linked by history from prehistoric times and trade with Europe, particularly the Netherlands. The swallowing up of Dunwich by the sea and Orford silting led to the rise of Aldeburgh. The locations are all linked by the Suffolk Coast path and tourist development, the decline of fishing and the work of artists presenting at art and music festivals in Southwold, Aldeburgh and Snape. I started by reading books on the Suffolk coast including Sebald’s Rings of Saturn and sections on Suffolk in Daniel Defoe’s A tour thro’ the whole island of Great Britain (1724–1727) work by Robert MacFarlane and Stanley Donway on Orford and some You Tube surfing on different locations. I chose to start at Shingle Street because that was an area of the coast I had not been before, and the most remote.
For further information and updates on the SYP project as a whole see the blog page links below.
There are a number of themes and You Tube sources that could be adapted including music written about the area, a couple of interviews with local people, videos on wildlife, birds and the events during World War II. But I need to go back and talk to local people myself first, following up on leads I established before COVID.


In addition to the contextual research I also did research on approaches and styles of documentary video narrative and techniques. I looked at the history of editing theory and was particularly interested in continuous shooting techniques in 2017 and immersive video, effects of different types of lens and colour grading. This is still very much a steep learning curve with very many ideas that I have yet to fully think through in relation to my own work.
See also:
https://www.southbankcentre.co.uk/whats-on/art-exhibitions/among-trees?eventId=855751
I also looked at techniques and examples of iPhone documentary video to see what is possible with an iPhone, and what sort of other equipment and accessories I might need..