Project Tag: iPad

  • E3.3: Edges in Time: Accumulation, destruction or trace

    E3.3: Edges in Time: Accumulation, destruction or trace

    Conceptual abstract exploration of the ways that our perceptions of past present and future change over the life cycle from beginning of life when the past starts gradually to be known, and the future looks long, large and bright to the final shortening of a future that looks increasingly dark, and memories slowly erase and possibly even our sense of ‘now’.

    Visible Animators: Material Accumulation, Erosion and Trace

    “Great care is normally taken to hide the animation process and presence of the animator to avoid distracting from the continuity of the movement. In stop-frame, shots including the shadow of the animator are deleted and re-shot. When the audience notices the presence of the animator through, for example, the tactile fact of a drawing on paper, this is a distancing effect. The viewer is made aware of the animator through production time; the build-up of layers of a substance or through the life and durability of the material itself.”

    TASK: Make a quick 30-90 second animation exploring one of the following three animation techniques: accumulation, destruction/erosion or trace.
    To start, you may want to restrict the materials you work with, so your animation can explore the possibilities of accumulation, destruction or trace by experimenting with mark-making, objects, or physical materials. Alternatively, you may want to explore these themes through image-making and metaphor by drawing, photographing or using found materials. Either way, be playful in your approach, and log all of your experiments on your learning log as well as your final piece.

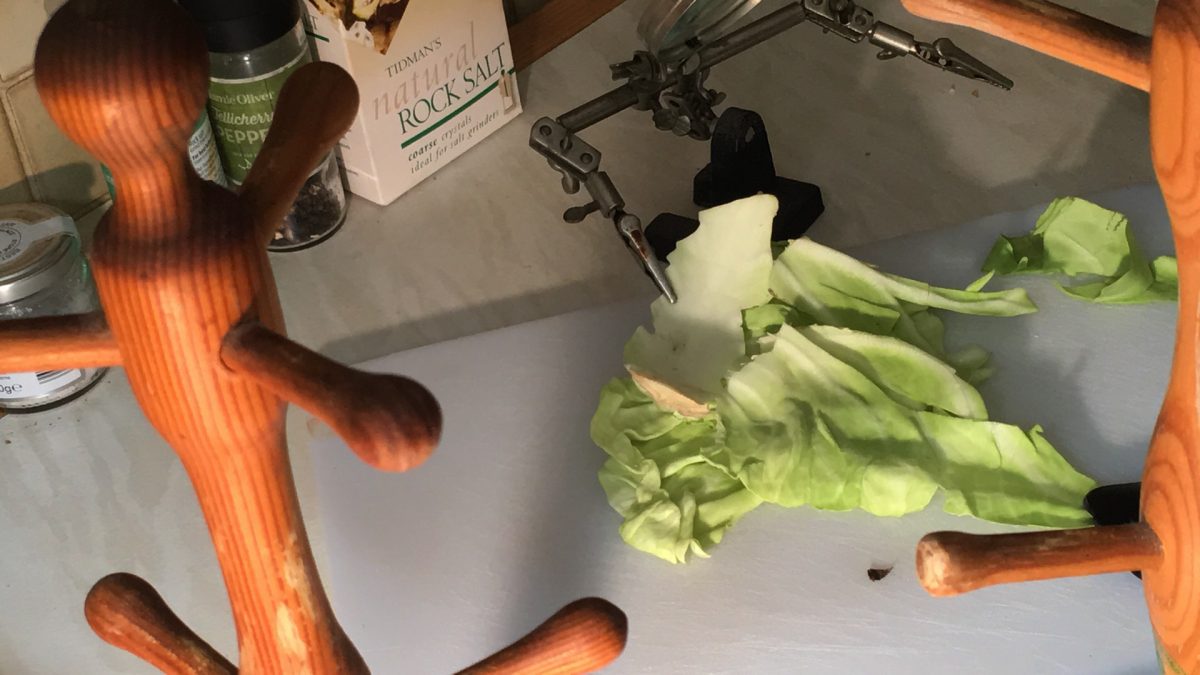
    Animation in physical media using build-up, erasure and trace techniques with both dry and wet physical media produces beautiful results. Media include sand art, charcoal, painting and mixed drawing and painting. Animation can be recorded with video and/or Stop Motion with different effects. Similar effects can also be reproduced digitally in software like TVPaint and Procreate on the iPad.

    These are approaches that I want to explore in a lot more depth in Assignment 5, and also my animation work for SYP. My work in this project only starts to look at issues involved in complexities of planning, layering and performance that are different between physical and digital techniques.

    Inspiration

    Animation in physical media using build-up, erasure and trace techniques with both dry and wet media produces beautiful results.
    I started by compiling a padlet of different potential media, styles and approaches including sand art, charcoal, painting and mixed drawing and painting.
    Some of the activities are recorded with video, others using Stop Motion.

    Made with Padlet

    Charcoal Doodles

    I started by experimenting with Charcoal Stop Motion, just doodling and experimenting with spontaneous drawing. Capturing in Stop Motion Studio on my iPhone using a uniform capture setting and varying the size of strokes each time to get differences in speed of build up and erasure.

    Different effects can be achieved through using different types of charcoal, different rubbers and smearing tools and on different paper.

    Narrative needs quite a lot of planning.

    The resulting videos can then be further edited with audio in TVPaint (most versatile for frame by frame) and/or Premiere and/or After Effects (for standard video effects) to vary the speed of build up, tone/colours, layering etc.
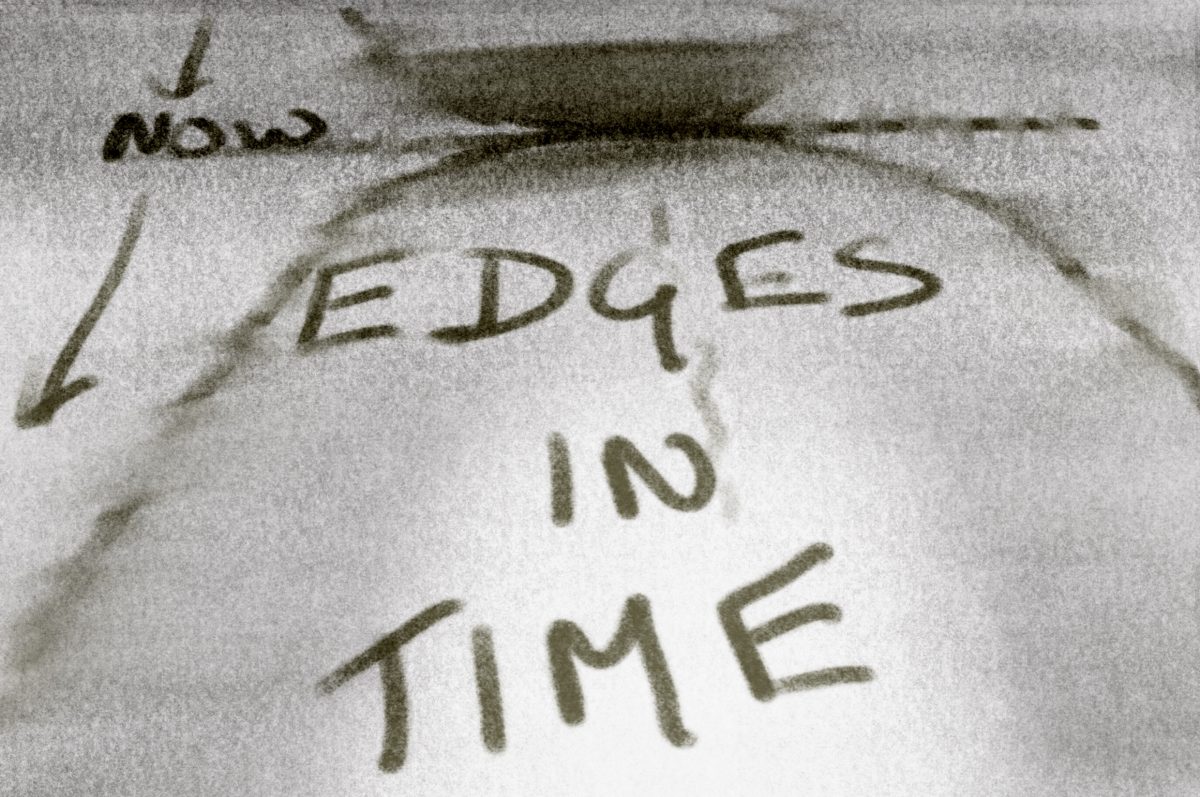
    Charcoal Stop Motion: first Doodle
    Charcoal Stop Motion: Tree and Wind animation

    Edges in Time:
    iPad timelapse in Procreate

    The second set of animations were experiments in conceptual abstraction for SYP ‘Edges in Time’ starting to think about the ways that our perceptions of past present and future change over the life cycle from beginning of life when the past starts gradually to be known, and the future looks long, large and bright to the final shortening of a future that looks increasingly dark, and memories slowly erase and possibly even our sense of ‘now’.

    This series was produced in Procreate Timelapse video on my iPad using charcoal paint, smear and erase brushes in different sizes and opacities. Unlike charcoal animation, Procreate allows different layers to be altered and manipulated. But it is very difficult to control brush strokes – normally this is achieved through experimentation and undo/redo that is fiddly when all this is recorded with minimal editing capacity. It is also extremely difficult to control speed and relative pacing of animation – it is not always clear what will record as a slow process or as a single frame jump.

    This was an interesting and quick way of conceptual experiment to see how things might work. But obviously needs a lot of refinement, probably in a combination of physical media and more professional pc software.

    Edges in Time abstracted concept animation will be an important part of SYP, even if the end result is not professional. And further developments will be included as part of MI A5 Presentation.

    Edges in Time 1: vertical timer: this did not record many of the brush strokes, even when they were done in separate small strokes and selecting and moving cut elements does not show as a separate frame unless combined with brush strokes.

    Edges in Time 2: Horizontal Timer this is longer with more brush strokes recorded. I quite like the horizontal format. I could experiment with trying to show the past pushing the present or the future pulling the past, and a rather stuttering present. I could also make a lot more of the boundaries between the time and environment. Presumably the cones are ‘me’. I could experiment more with the relative tones and colour. But this is too complex for the software and would need to be done in TVPaint.
    Edges in Time 3: Vertical Timer with audio. this is longer with more brush strokes recorded. I like the addition of the ticking – I offset two tracks at slightly different speed so that they are out of sync. But this would be more effective if I play a sound track and use physical stop motion techniques where the animation in drawn in sync with the audio. Then composite the video with a clean audio track and any additional effects or editing in TVPaint or Premiere/AE. This was useful as a quick experiment to give me some ideas though – and point to what does not work as well as what might.
  • Assignment 1: Death of a Cabbage

    Assignment 1: Death of a Cabbage

    TASK: Develop a short finished animation drawing on what you have learned so far.
    Make a short animated video using movement to express both compelling force and resistance to it.
    Use the way objects move to express these two very different states. You can extend one of the project films that you have made thus far, or start an entirely new film and use any technique you like. Your animation can be abstract or figurative, silent or with sound, but it must express the two opposing processes through the animated movement alone.
    It is recommended that you start this project by:
    ● Imagining or observing force and resistance. For example, by looking at how things drop and collide, roll and swerve, bounce and squash, teeter and fall, shoot and ricochet, etc.
    ● Starting to make sketches, taking photographs and making small models.
    ● At the same time, trying out small animated sketches, loops or GIF’s to explore movement and ideas of texture, setting and lighting.
    Bring this material together and work on rough storyboards, diagrams or other description of how you will approach the shoot and your ideas for your animation.
    Your short animation can be approximately a minute in length but it can be shorter than this. It doesn’t matter how short or basic your animation is. The main thing is to communicate a sense of movement and to enjoy the process of creating movement through animation.
    Upload your preparatory material to your learning log along with your finished animation. Reflect on your first assignment and your learning as a whole. What do you think you have gained and what could you develop further?

    Stop Motion Studio sequence from iPad exported from Premiere at H264 low bitrate.
    First edit in Adobe Premiere
  • E1.3: Rotating on a Chair

    E1.3: Rotating on a Chair

    For this animation I was asked to make a drawn animated loop of about 24-48 frames of a chair spinning 360 degrees. I did this on my iPad in Procreate.

    • Step 1: Set up a chair in the middle of the room. This was a little bit tricky as there is no room in my house where it is possible to have a chair in the middle far enough away to move around while maintaining the same distance and viewpoint because other furniture gets in the way. I could have added an object, but the simple chair was in itself enough of an interesting challenge.
    • Step 2: Make a drawing of the chair (and object). Work fast, loose and try to fill most of the page. No more than 3 minutes per drawing. Then move your seating position a few degrees to the right and make another drawing from this new perspective. Then move and draw again until you have encircled the chair and made drawings from roughly all positions around it. Number your drawings as you go along on the corner of the page.

    I did very quick sketches in Procreate on my iPad, some shaded and some not. Using onion skinning to maintain some semblance of alignment and scale despite the need to draw from slightly different distances and heights to avoid furniture/stand or sit etc. I actually quite like some of the variation – it seems like the chair is sometimes coming nearer, sometimes receding and the occasional shaded frames add interest. I could experiment a lot more with this – adding more or less variation, doing all shaded shapes or all sketches and getting mor or less constancy in size through cropping/transformation and redrawing with more accurate linear perspective.

    • Step 3: Import your images into your editing software. Starting with 24 frames per second, I experimented frame rates: 6FPS, 12 FPS and 15 FPS, and with loop and pingpong variants.
    Chair revolving 24fps
    Chair revolving pingpong 12fps
    Chair revolving 15fps
    Chair revolving 6fps
  • E1.2: Make an animated GIF ‘Boil’

    E1.2: Make an animated GIF ‘Boil’

    This project asked me to make 8 drawings through tracing over a photograph either with a pencil and lightbox, or digitally. Keeping the lines fast and loose, making new images rather than keeping fidelity to the original. Then to repeat the exercise, experimenting with how tightly or loosely I do the drawing. And with the order of frames. I was then asked to create an animated gif and upload to my blog.

    I chose to do this project in Procreate on my iPad to experiment with different drawing styles. I uploaded as an mp4 file because animated gifs do not play in WordPress unless enbedded. I did not want to upload thus preliminary work to vimeo or You Tube.

    TASK: A Graphics Interchange Format (GIF) is a file format that supports animated and still images. It is a computer file composed of a series of images (numbering between 2 to several hundred). It is a relatively dated file format (invented in 1987) but still exists today. It allows an animation to loop endlessly and is often used in social media.

    Cat Waiting pencil
    Cat Waiting subtle moving

    Cat Waiting ink line
    Cat waiting subtle move
    Cat waiting green and brown acrylic